Braised Beef Tips Recipe: 7 Secrets for Tender, Rich Comfort Food
Table of Contents
Braised Beef Tips Recipe:
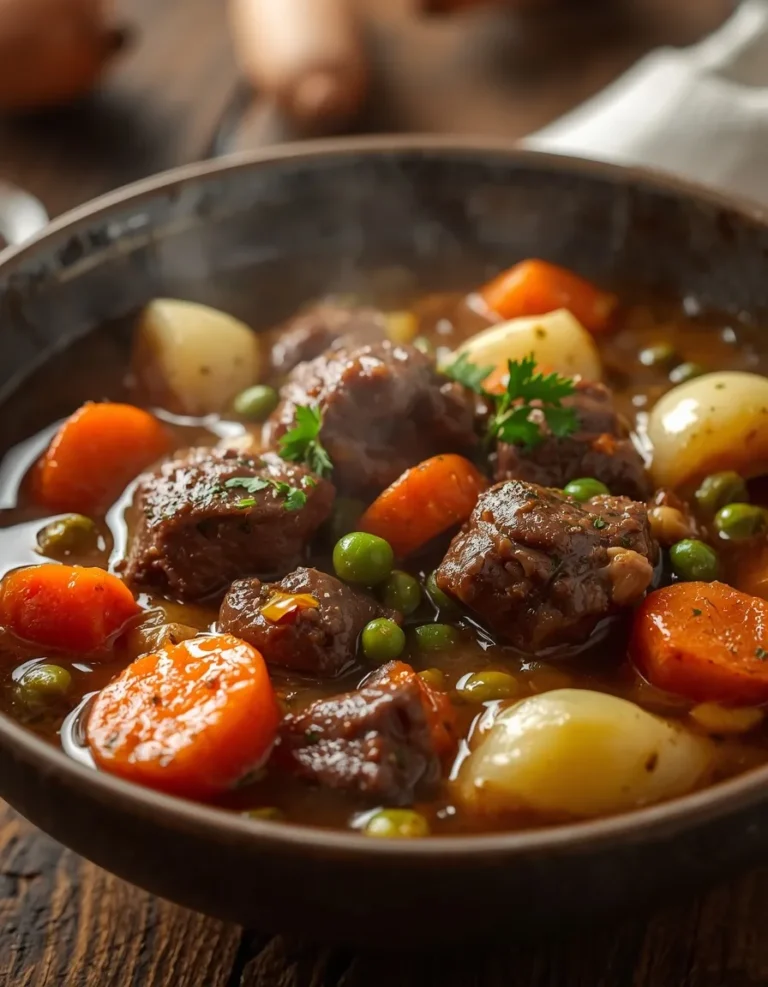
There’s a reason braising has stuck around for centuries while flashier cooking trends come and go. Low-and-slow cooking transforms tough, humble cuts of meat into something rich, spoon-tender, and deeply savory — and beef tips are one of the best possible candidates for the technique. When you give beef time to simmer gently in a flavorful liquid, the connective tissue breaks down, the meat practically falls apart, and the braising liquid itself turns into a thick, glossy gravy that’s arguably the best part of the whole dish.
This is exactly the kind of meal that belongs in your rotation from the first cool morning of fall straight through the depths of winter. Picture it: a Dutch oven quietly simmering on the stove, the kitchen filling with the smell of browned beef, garlic, and thyme, while snow (or at least a chilly wind) does its thing outside. It’s the sort of dinner that makes a house feel like a home.
And here’s the best part — despite a total cook time of around 2 to 2.5 hours, this recipe is mostly hands-off. You’re not standing over the stove the whole time. Once the beef is browned and the pot is simmering, you’re free to fold laundry, help with homework, or just sit down with a book while dinner takes care of itself.
If you’re looking for a lighter dinner option for busy weeknights, explore our collection of Healthy Chicken Recipes, featuring high-protein meals, easy meal-prep ideas, and family-friendly chicken dinners.
Why the Cut of Meat Matters
Not all “beef tips” are created equal, and the cut you choose can make or break this dish.
Traditional sirloin tips, often cut from bavette or flap meat, sound appealing on paper. In practice, though, they can be surprisingly hard to track down at a regular grocery store, and even when you find them, they often lack the marbling needed to stay tender through a long braise. Lean cuts like these are better suited to quick, high-heat cooking — not a two-hour simmer.
That’s why boneless beef chuck roast is the better choice here. Chuck is budget-friendly, it’s stocked at practically every grocery store, and — most importantly — it’s generously marbled with fat. That marbling is the secret to a braise that turns out meaty, rich, and fall-apart tender rather than dry and stringy. Simply cut the roast into uniform cubes and you’re ready to go.
Short on time or can’t find a whole chuck roast? Pre-cut beef stew meat can work as a substitute, as long as you choose pieces that are well-marbled and reasonably uniform in size. Just take a look at the package before you buy — stew meat quality varies a lot from butcher to butcher.
The Savory Gravy Blueprint
The gravy is where this dish really earns its comfort-food status, and it starts with a solid aromatic base. Yellow onion and fresh garlic, sautéed until soft and fragrant, form the foundation that everything else builds on.
From there, a classic roux — unsalted butter whisked with all-purpose flour — thickens the braising liquid into a smooth, lump-free gravy. The key is whisking constantly and letting the flour cook out slightly before adding liquid, which prevents that raw-flour taste and keeps everything silky.
To deepen the flavor even further, a splash of low-sodium soy sauce and a bit of Worcestershire sauce work behind the scenes, adding umami without making the dish taste distinctly Asian or overtly “sauce-forward.” You won’t taste either ingredient individually — you’ll just notice the gravy tastes more complex and savory than you expected.
Finally, low-sodium beef broth rounds things out as the braising liquid. Using the low-sodium version gives you full control over the final seasoning, so the dish doesn’t end up oversalted by the time it’s reduced and thickened.
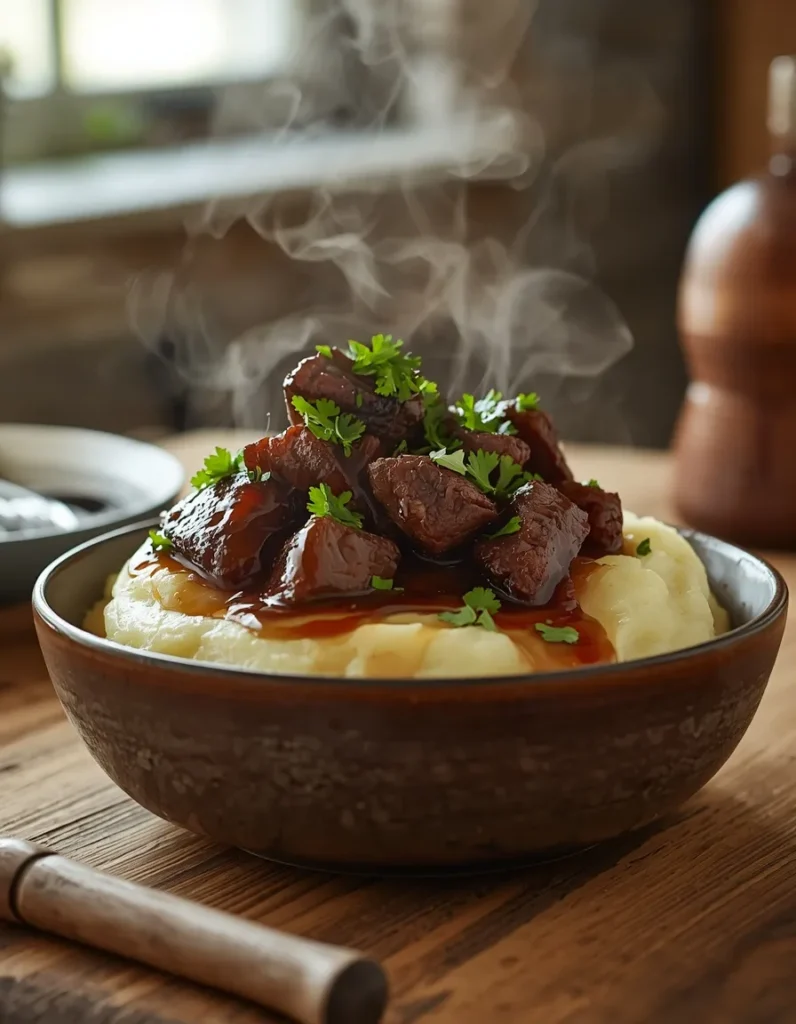
Mastering the Method: Pro Tips for Success
A few technique details separate a good braise from a great one.
Start by coating the beef cubes in a simple seasoning blend of dried thyme, kosher salt, and black pepper. This light coating helps build flavor right from the first sear.
Next comes batch browning, and it’s worth not skipping this step or rushing it. Crowding the pot causes the beef to steam instead of sear, which means you miss out on that deep brown crust that adds so much flavor to the final dish. Sear the beef in two separate batches, giving each piece about 2 to 3 minutes per side until a rich, dark crust forms.
Once the beef is browned and set aside, it’s time to deglaze. Sauté the onions in the same pot, scraping the bottom as you go to loosen all those flavor-packed browned bits left behind from searing. This is where a huge amount of the dish’s flavor comes from, so don’t skip it.
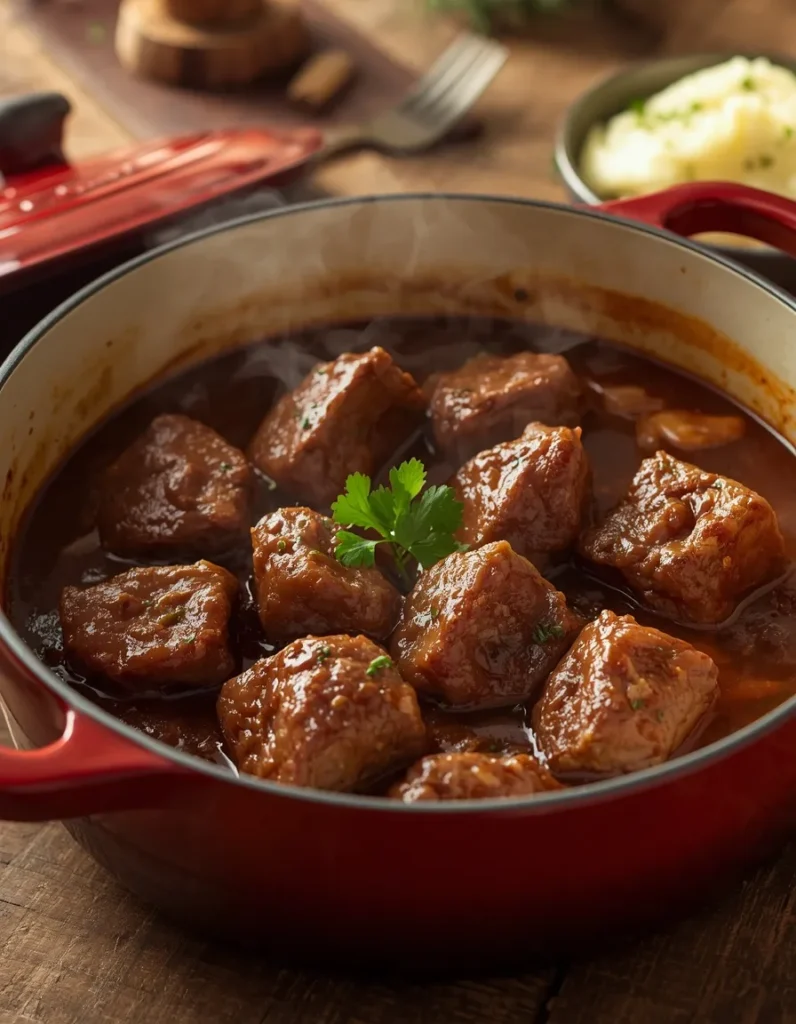
From there, the two-stage simmer does the heavy lifting. First, cover the pot and let everything simmer gently for about an hour, allowing the beef to start breaking down. Then remove the lid and continue cooking uncovered for another 45 to 60 minutes. This second stage is essential — it lets excess liquid evaporate, thickening the gravy while giving the beef time to become truly fork-tender.
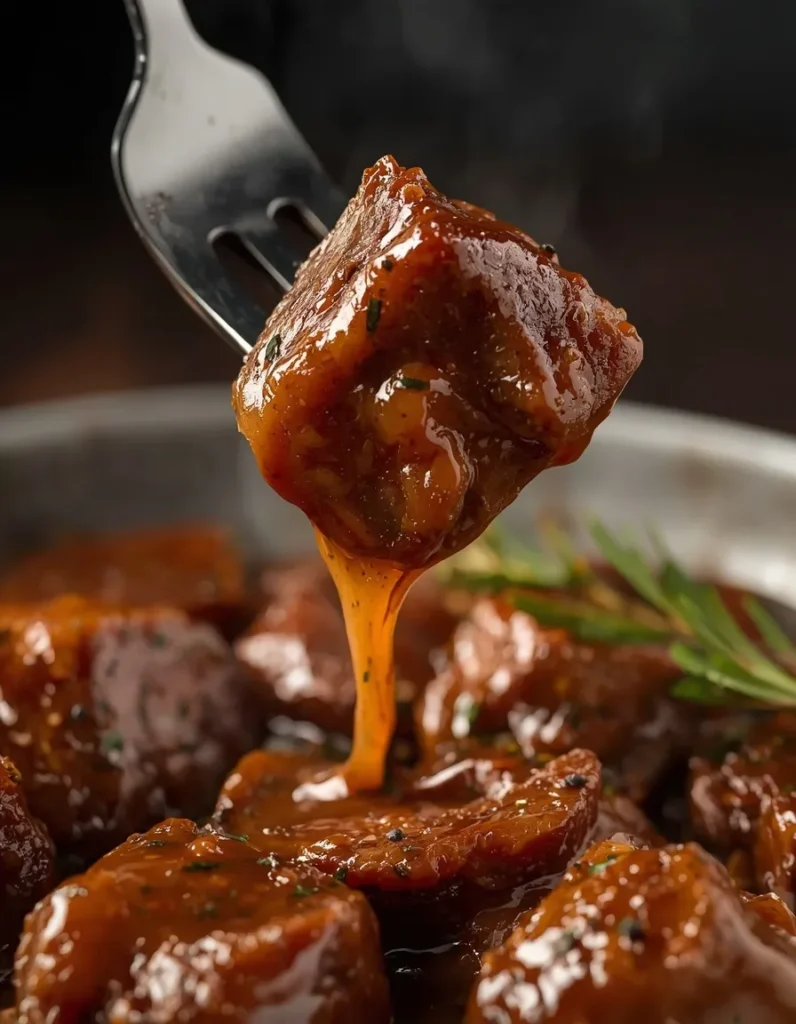
Customizable Serving Suggestions
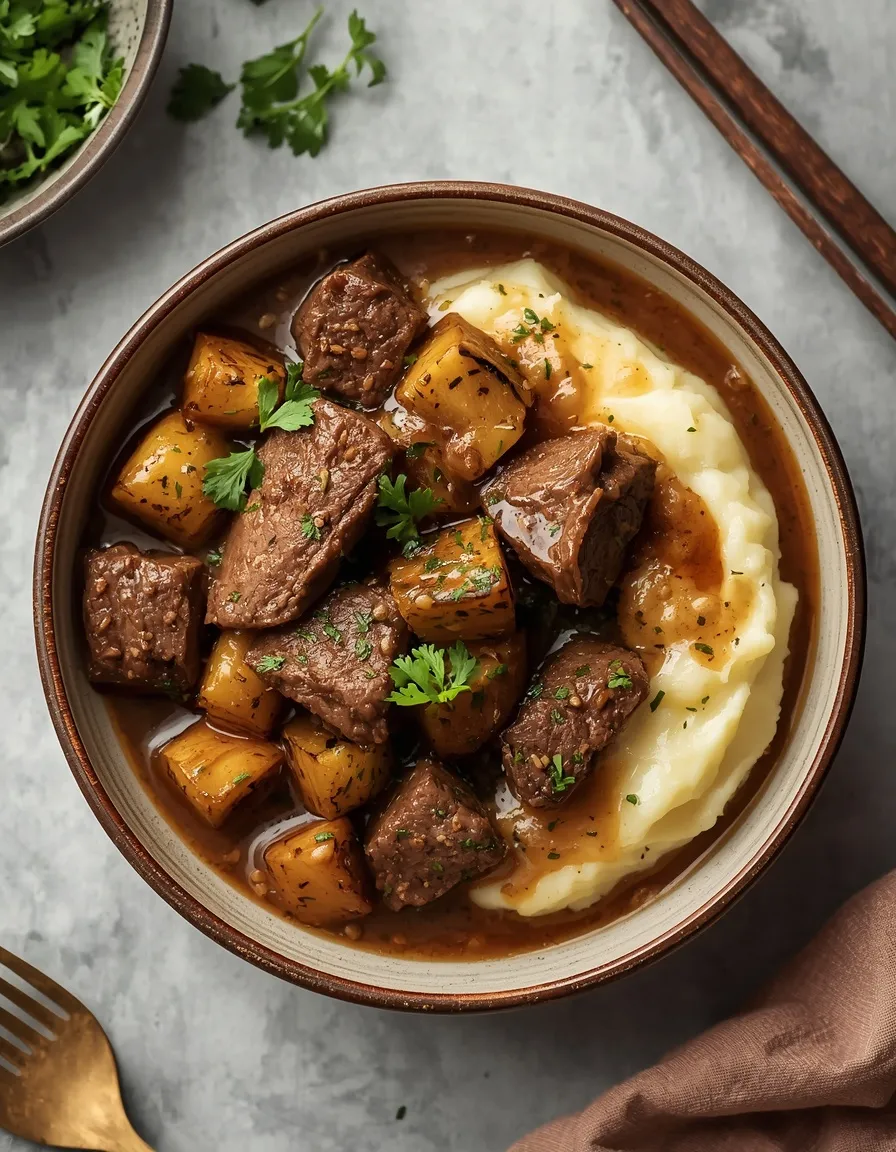
Braised Beef Tips Recipe practically demand something to soak up all that gravy. Fluffy mashed potatoes are the classic pairing, but creamy stovetop polenta, buttered egg noodles, or a crusty loaf of bread all work beautifully too.
To round out the meal, add a vegetable side — roasted frozen broccoli is an easy weeknight option, while honey-glazed carrots lean a little more special-occasion. Either one balances the richness of the beef nicely.
Just before serving, scatter some fresh, coarsely chopped parsley over the top. It’s a small touch, but it adds a pop of color and a touch of freshness that cuts through the richness of the dish.
For more tips on preparing tender beef tips and hearty comfort-food meals, check out The Kitchn’s Beef Tips Recipe Guide.
Preparation & Storage Strategy
This is genuinely a better dish on day two. Making it up to 2 days in advance gives the flavors time to meld and deepen, so don’t hesitate to plan ahead if you’re prepping for a busy week or a dinner party.
Store any leftovers in an airtight container in the refrigerator, where they’ll keep well for up to 4 days. When you’re ready to eat, reheat gently over medium heat in a Dutch oven, stirring occasionally, until the beef and gravy are warmed through. Avoid the microwave if you can — stovetop reheating keeps the texture of the meat intact and the gravy from separating.
Whether it’s a random Tuesday or a snowy Sunday made for staying in, braised beef tips recipe deliver exactly the kind of comfort that winter cooking is all about.