Best 7 Secrets to the Crispiest Chicken Parmesan Recipe (Never Soggy!)
Table of Contents
The Secret to Never-Soggy Chicken Parmesan Recipe
The Chicken Parmesan Recipe Dilemma
Order chicken parmesan recipe at most restaurants and you already know what’s coming: a cutlet buried under so much sauce and cheese that by the time it hits your fork, the once-crispy crust has surrendered into a soft, soggy clump. It’s not that the flavors are wrong — tomato, mozzarella, and fried chicken are a proven combination. The problem is technique. Kitchens ladle on sauce to make the dish look generous, then blanket it in cheese to hide the damage, and the result is something closer to lasagna filling than a proper cutlet.
This is exactly why chicken parmesan is one of those Italian-American classics that’s genuinely better made at home. In your own kitchen, you control the variables that restaurants sacrifice for speed and plate presentation: how much sauce actually touches the chicken, how long it rests before frying, and how hot your oven really gets. The goal isn’t complicated, even if it sounds like it requires some kind of culinary sleight of hand — you want a crust that shatters slightly when you cut into it, sitting on top of chicken that’s still juicy underneath. That balance is entirely achievable, and it comes down to a handful of deliberate choices rather than luck.
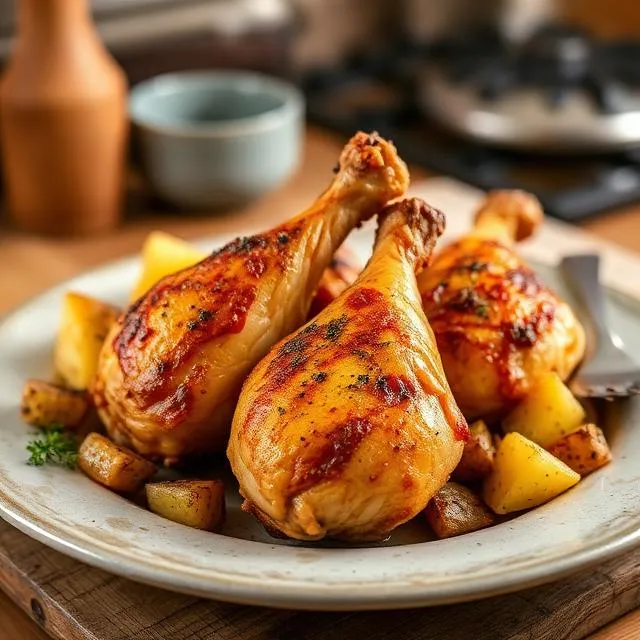
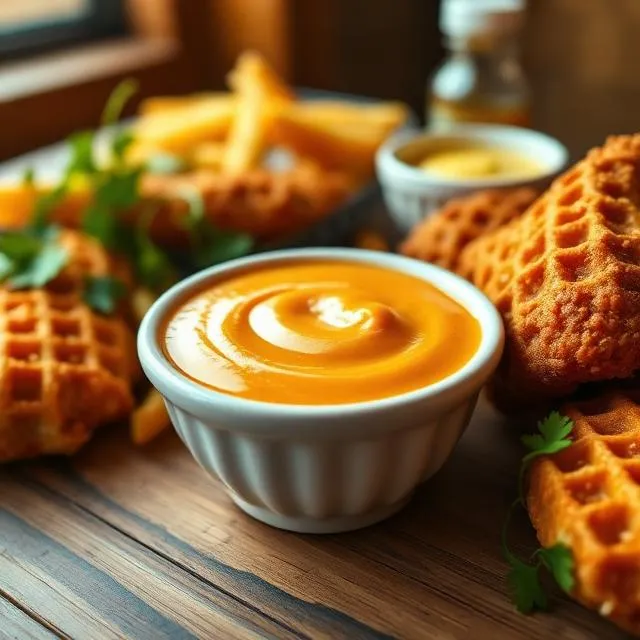
Ladle this rich homemade gravy over a plate of mashed potatoes, or serve it alongside roasted chicken for the ultimate comfort-food dinner. If you’re looking for another homemade sauce to elevate your meals, try our Homemade Chick-fil-A Sauce Recipe, a creamy and tangy dipping sauce that’s perfect for chicken, fries, and sandwiches.
The Secret to “Never-Soggy” Texture
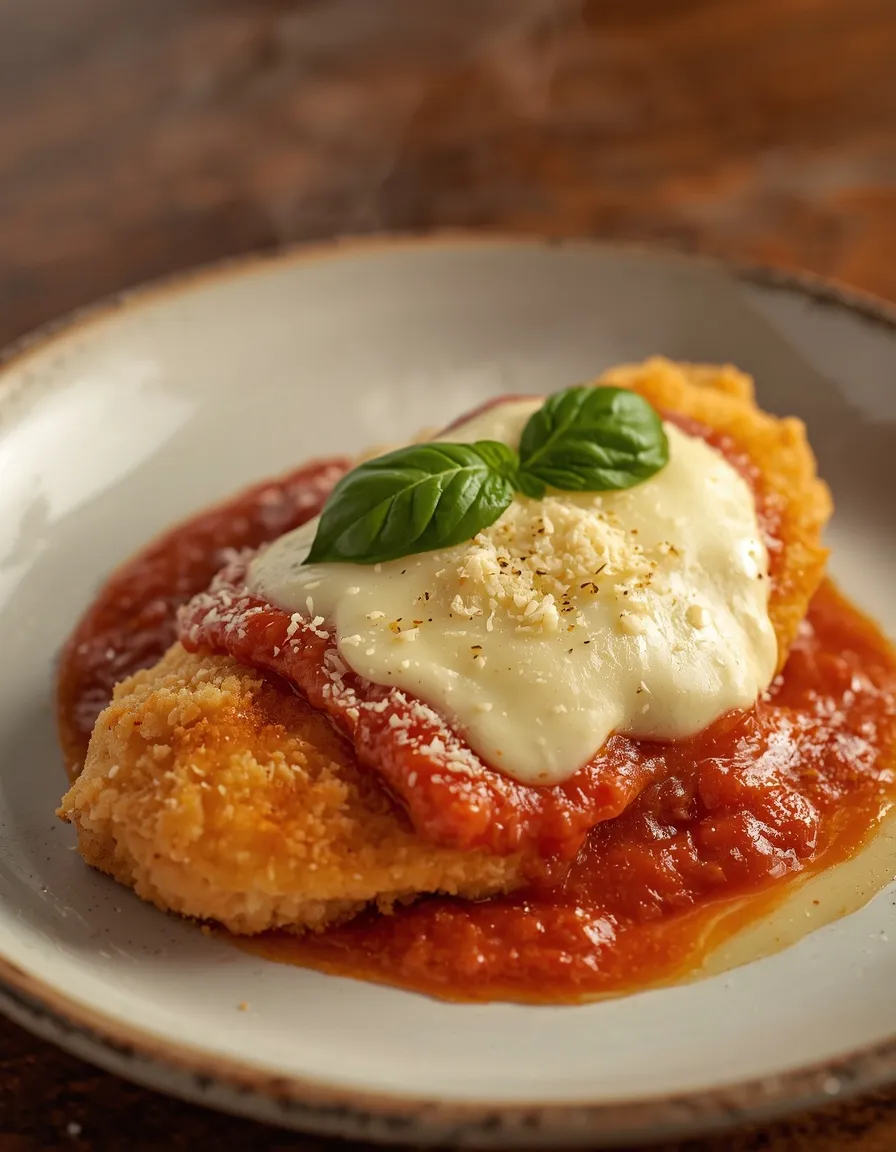
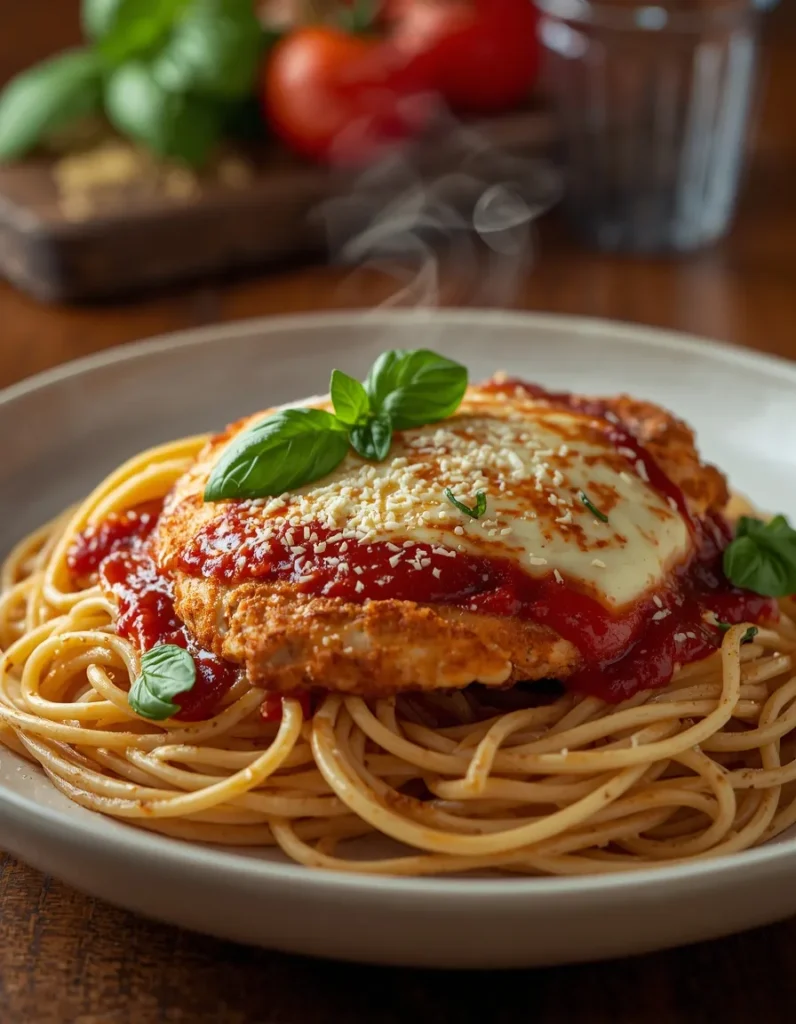
The single biggest mistake home cooks make is treating chicken parmesan like a casserole. Sauce goes under the chicken, over the chicken, around the chicken — and the breading never stands a chance. The fix is almost stubbornly simple: sauce goes on top only, never underneath. Pooling sauce beneath the cutlet in the baking dish steams the bottom of the crust while it’s in the oven, and steam is the enemy of crunch. Keep the base of the dish dry, or lightly oiled at most, and let the sauce sit as a layer above the cheese.
Speaking of cheese, most versions lean entirely on mozzarella, which is fine but one-dimensional. A blend of fresh mozzarella for its meltiness, provolone for a sharper, tangier bite, and real grated Parmesan for salty depth gives you a more complex finish without any extra effort. If you or anyone at the table genuinely prefers a saucier plate, don’t compromise the chicken to please them — warm extra sauce separately and serve it on the side. That way the crunch stays intact for anyone who wants it, and the sauce lovers still get their fix.
Pre-Cooking Essentials: The Foundation of Success
Good chicken parmesan recipe is decided before the pan ever gets hot. Start by pounding boneless chicken breasts to an even half-inch thickness. Chicken breasts are naturally uneven — thick on one end, thin on the other — which means the thin end overcooks while you’re waiting for the thick end to finish. Even thickness means even cooking, and it also means a shorter, more controlled time in the oil, which is where sogginess often begins.
Season the meat itself, not just the coating. It’s tempting to dump salt and pepper into the flour or breadcrumbs and call it done, but that only seasons the crust — the inside of the chicken stays bland no matter how flavorful the breading is. Salt and pepper the cutlets directly before you start breading them, so the seasoning is locked into the meat itself.
Then comes a step almost everyone skips: after breading, let the chicken rest on the counter for about 15 minutes before it goes into the oil. This isn’t just idle time. The resting period lets the coating set and adhere properly, so it doesn’t slide off or blister unevenly the moment it hits hot fat.
The “Golden Ratio” Breading Technique
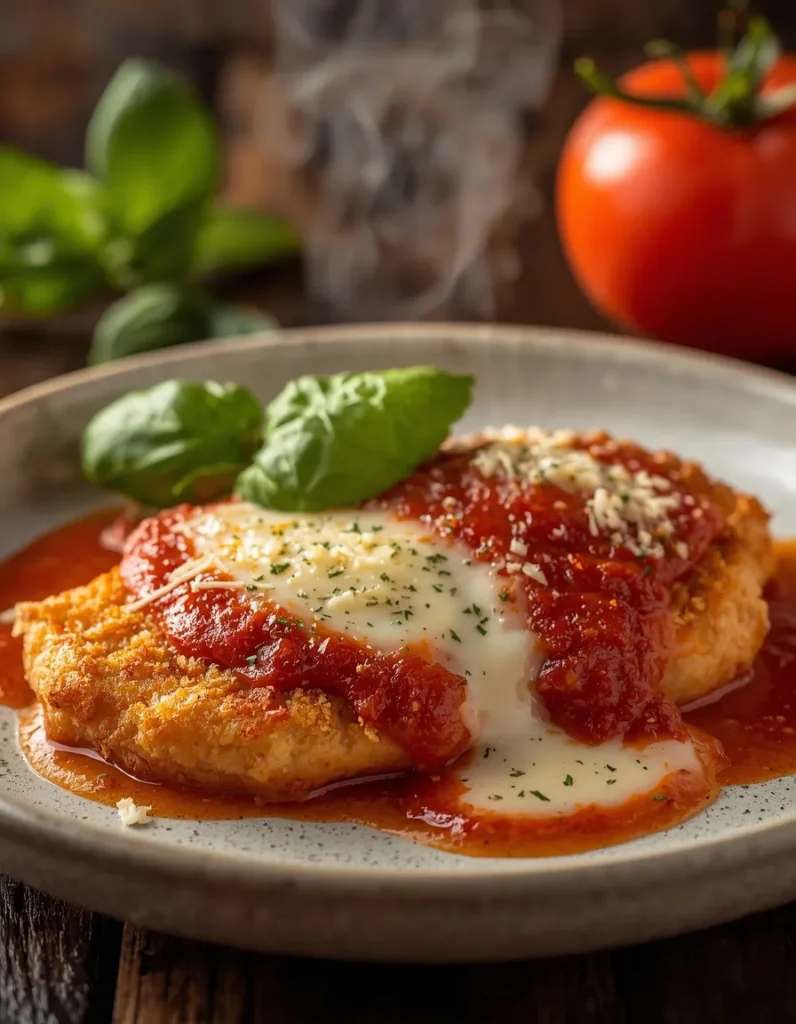
Standard breadcrumbs get the job done, but panko is genuinely a different category — lighter, airier, and far crunchier once fried. If you’ve only ever used the fine, sandy breadcrumbs from a can, switching to panko alone will noticeably upgrade the texture.
Take it a step further by mixing finely grated Parmesan directly into the panko before breading. This does two things at once: it adds a savory, salty note throughout the crust, and the cheese caramelizes slightly during frying, adding extra crunch you won’t get from crumbs alone.
Before the egg wash, apply your flour coating through a sifter or fine strainer rather than dredging the chicken directly in a bowl. A light, even dusting sticks better than a thick, clumpy layer, and it gives the egg wash something consistent to grip — which in turn gives the panko mixture a clean surface to adhere to.
Execution: From Skillet to High-Heat Oven
With the chicken breaded and rested, heat olive oil in a skillet until it shimmers, then fry the cutlets for roughly two minutes per side — just long enough to turn the crust golden brown. You’re not trying to cook the chicken through at this stage; that’s what the oven is for.
Preheat your oven to 450°F (230°C) well before the chicken goes in. A genuinely hot oven finishes the cooking quickly, browns the cheese, and crisps the breading further, all without giving the chicken time to dry out. A lukewarm oven does the opposite: it takes longer, which means more time for moisture to escape and the crust to soften.
Pull the chicken once it reaches an internal temperature of 165°F (74°C), and let it rest for a few minutes before slicing or serving. That short rest lets the juices redistribute instead of running straight out onto the plate.
If you’re looking for another trusted take on this classic Italian-American favorite, check out this detailed Chicken Parmesan recipe from Allrecipes, which offers additional tips on breading, frying, and achieving the perfect balance of sauce and cheese.
Pro-Tips & Community Enhancements
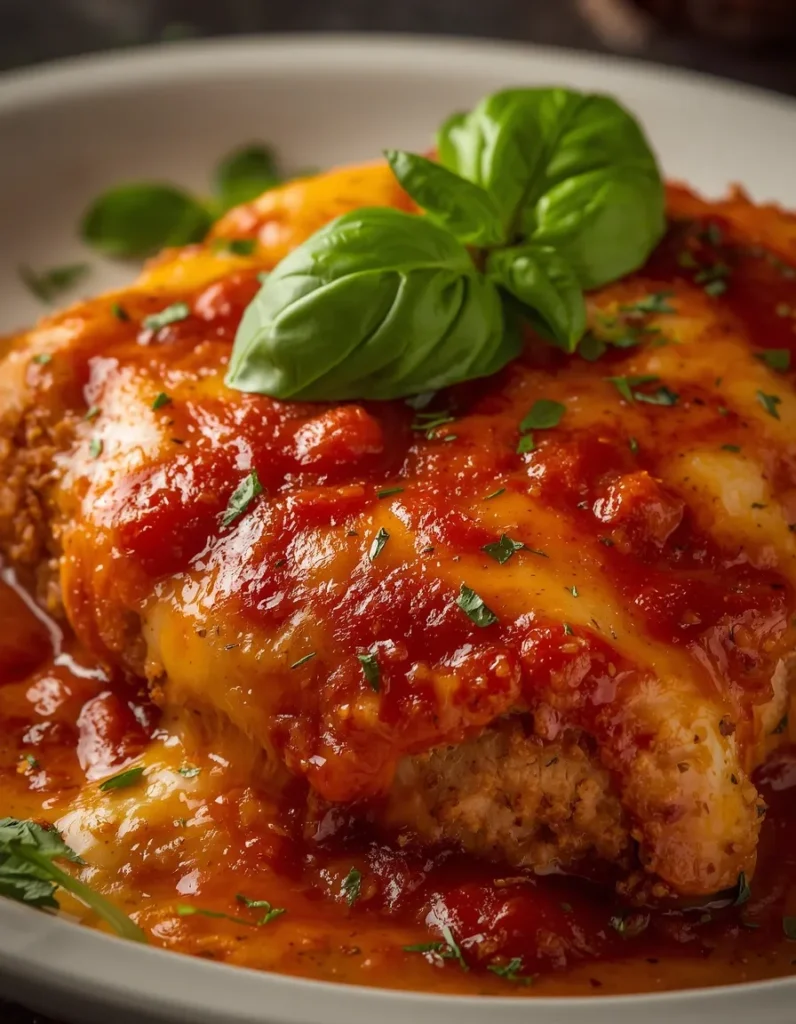
A few smaller touches can push the dish further without changing the core method. Brining the chicken for 30 minutes to an hour beforehand adds moisture insurance, especially useful if your cutlets are on the leaner side. Whisking a clove or two of minced garlic into the egg wash is another easy way to layer in flavor without adding a separate step.
If fresh basil isn’t available, don’t skip the herb entirely — a spoonful of good pesto or a pinch of dried Italian seasoning mixed into the sauce fills that gap well. And while homemade marinara is always worth the effort if you have the time, a high-quality jarred sauce is a perfectly legitimate shortcut; just make sure it’s one made with real tomatoes and minimal added sugar, since that’s usually the difference between a decent sauce and a forgettable one.
None of these adjustments require special equipment or advanced technique. What they add up to is a chicken parmesan that holds its structure from first bite to last — crisp where it should be crisp, juicy where it should be juicy, and finally free of the soggy-clump problem that’s haunted the dish for decades.