Homemade Gravy From Scratch: 5 Easy Steps to the Best Gravy Every Time
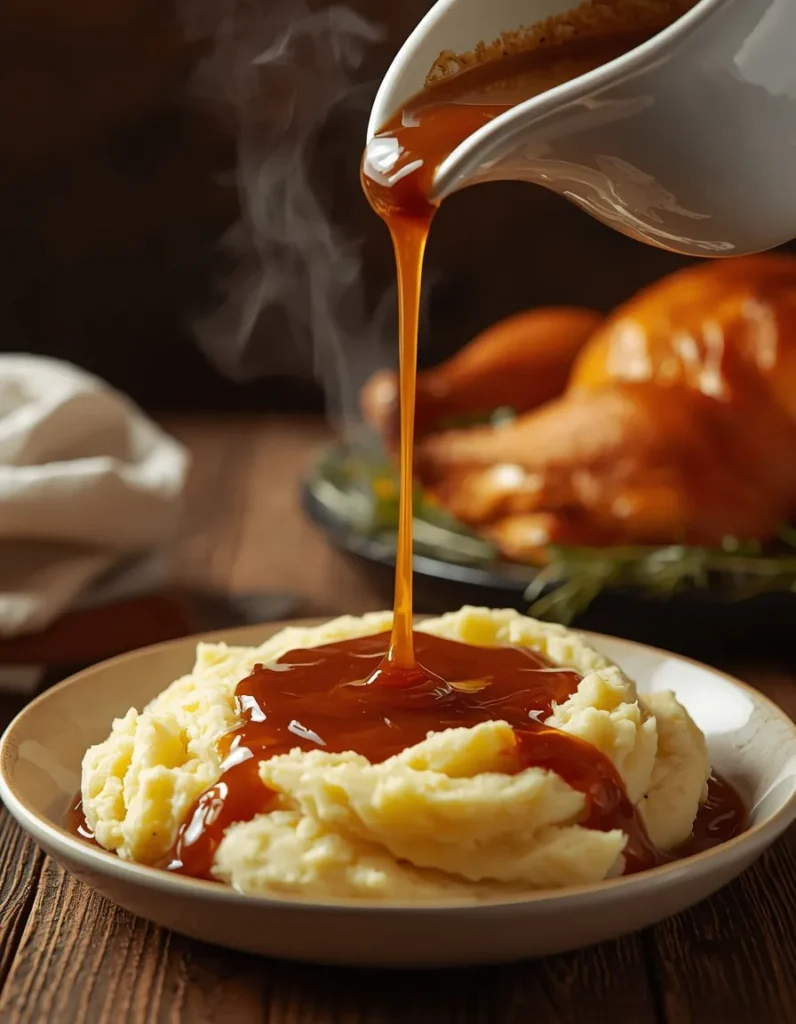
Table of Contents
Homemade Gravy From Scratch
The “From Scratch” Difference
There’s a reason nobody asks for seconds on gravy made from a packet. Store-bought mixes rely on powdered starch and salt to fake a flavor that real drippings and broth deliver naturally, and once you’ve tasted the difference side by side, it’s hard to go back. Homemade gravy has depth. It tastes like the roast it came from, not like a shelf-stable approximation of one. And the ingredients required to get there are already sitting in your pantry: flour, broth, salt, pepper, and whatever fat you’ve got on hand.
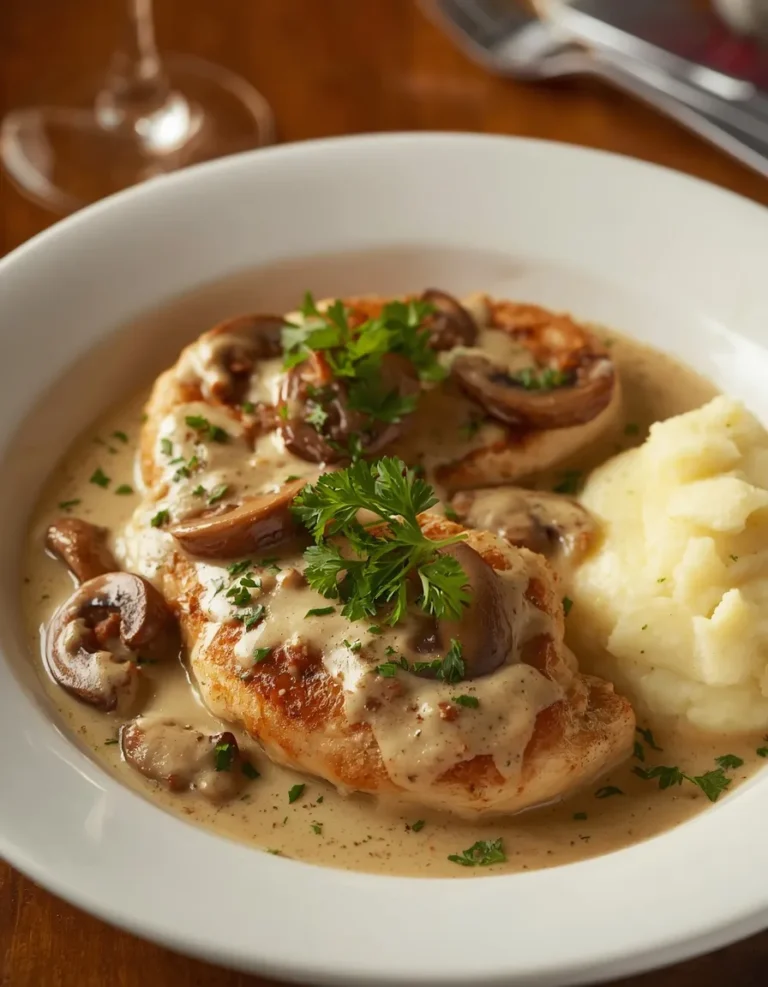
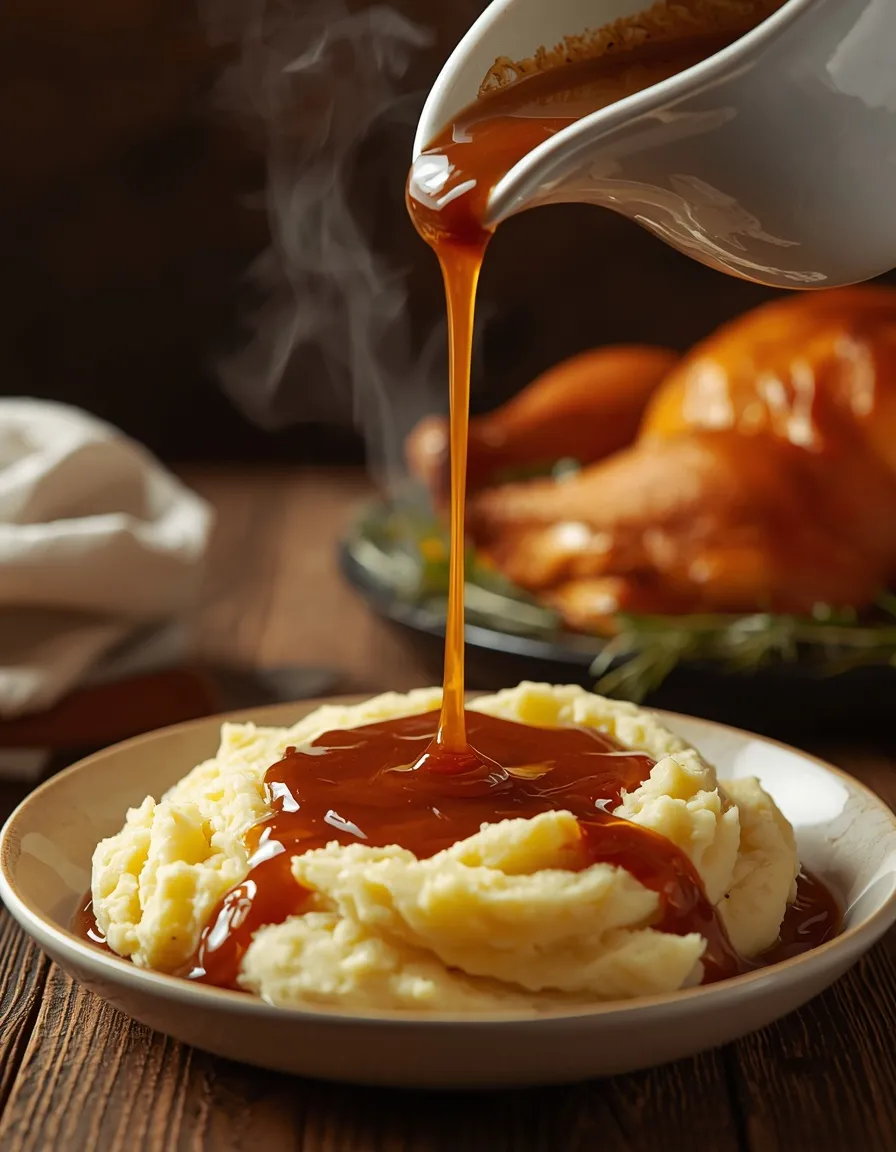
This isn’t a one-trick sauce, either. Ladle it over a bowl of Perfect Mashed Potatoes and dinner suddenly feels like an event. Split open a warm Flaky Buttermilk Biscuit and let the gravy soak in, and you’ve got a breakfast that people will remember. It’s the kind of recipe that quietly upgrades everything it touches.
Best part: it doesn’t take all day. Five minutes of prep, twenty minutes on the stove, and you’re done. Twenty-five minutes total for something that tastes like it simmered for hours.
If you’re planning a game-day spread, this Homemade Gravy From Scratch also pairs surprisingly well with our Crispiest Baked Buffalo Wings, adding a savory homemade touch to your appetizer table.
The “Secret” to Perfect Flavor: Drippings vs. Broth
If you’ve roasted a chicken or turkey, you already have the single best gravy ingredient sitting in your pan. Drippings are the browned bits and rendered fat left behind after roasting — and they’re loaded with concentrated, roasted flavor that no bouillon cube can fully replicate.
But let’s say you didn’t roast anything, or your pan came up dry. You’re not out of luck. Chicken broth combined with a spoonful of chicken bouillon paste can stand in for drippings and still produce a gravy with real depth. The bouillon paste is doing the heavy lifting here, so don’t skip it if you’re working without drippings.
One safety note worth repeating: when you go to collect drippings from a hot roasting pan, always tip the pan away from your body. Hot fat and liquid splash easily, and a burn is not worth the shortcut.
Once you’ve got your drippings, let them rest for a few minutes in a heatproof measuring cup or bowl. The fat will float to the top, separating cleanly from the flavorful liquid underneath. Skim the excess fat off with a large spoon or ladle, and you’re left with exactly what you need — flavor without the greasiness.
Master the Technique: Step-by-Step Success
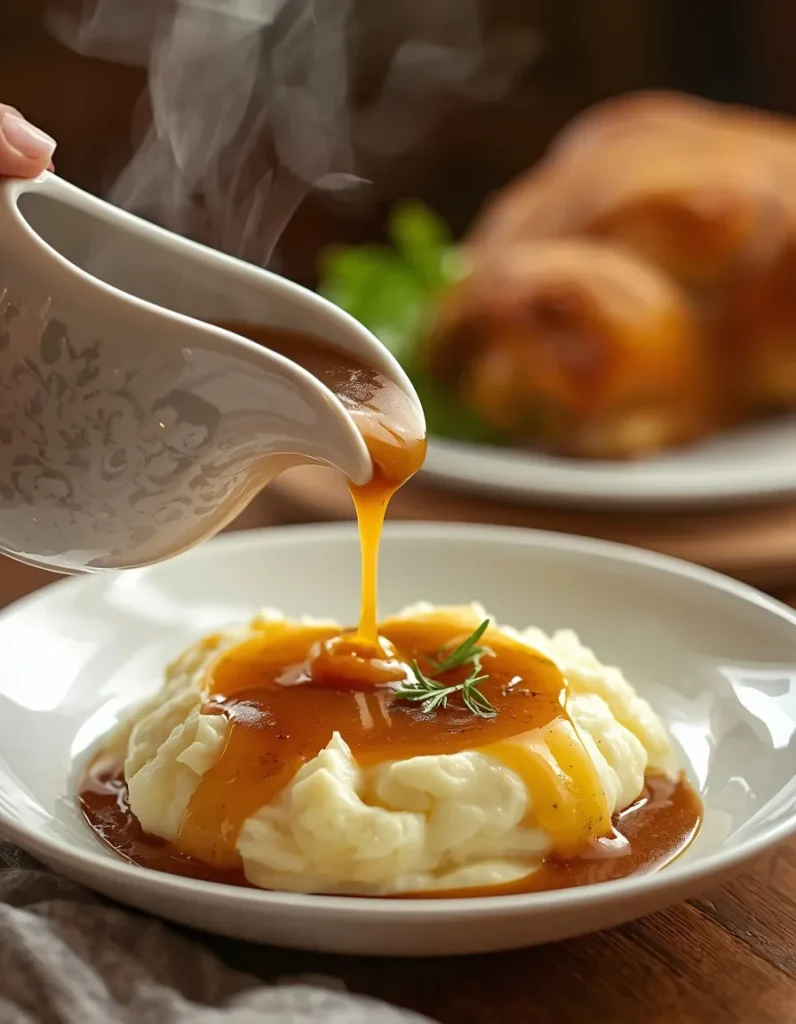
Build the roux. Warm a half cup of drippings (or broth, if that’s your route) in a saucepan over medium heat. Whisk in a quarter cup of flour and keep whisking until it forms a smooth, thick paste. If it looks slick or greasy rather than pasty, sprinkle in a little more flour until the texture firms up. Trust your eyes here more than the exact measurement.
Pour slowly. This is the step people rush, and it’s the one that causes lumps. Gradually whisk in two cups of chicken broth along with another quarter cup of drippings, or a teaspoon of bouillon if you’re out of drippings. Add the liquid in a slow stream, whisking the entire time, so the roux absorbs it evenly instead of seizing into clumps.
Thicken and adjust. Keep the gravy at a gentle simmer, whisking constantly, for five to eight minutes. It’ll thicken gradually — resist the urge to crank the heat to speed things up. If it ends up thicker than you’d like, whisk in a splash more broth or drippings. If it’s too thin, mix one teaspoon of cornstarch with a tablespoon of water to form a slurry, whisk it in, and simmer for another couple of minutes until it tightens up.
Dietary Variations & Substitutions
Skipping gluten doesn’t mean skipping gravy. Leave the flour out entirely and go straight to a cornstarch slurry — one tablespoon of water and one teaspoon of cornstarch for every cup of liquid you’re using. Whisk it directly into your heated broth or drippings, and you’ll get a glossy, thickened gravy with no roux required.
No drippings on hand and don’t want a broth-only gravy? Melt two tablespoons of butter into your broth before starting the roux. It supplies the fat a traditional roux needs, and you’d be hard-pressed to tell the difference once it’s finished.
Troubleshooting & FAQ
Gravy tastes flat? This usually means it needs more seasoning, not more time on the stove. Add extra black pepper, a pinch more salt, or another small spoonful of chicken bouillon paste and taste again before serving.
Gravy looks greasy? That’s a sign the fat-to-flour ratio is off. Whisk in a bit more flour, a tablespoon at a time, until it emulsifies properly.
Gravy full of lumps? Nine times out of ten, this comes down to pouring liquid in too fast or not whisking constantly. Slow down, whisk harder, and it’ll smooth back out.
Storage: Gravy is genuinely at its best fresh off the stove, but it holds up in the fridge for up to two days in a sealed container. For longer storage, freeze it for up to four months — just reheat gently over low heat, whisking as it warms, since gravy can separate slightly after freezing.
If you’re new to gravy-making and want another trusted perspective, check out this detailed Chicken Gravy tutorial from Tastes Better From Scratch for additional troubleshooting and cooking tips.
The Recipe Card & Pairing Ideas
Ingredients: drippings (or broth substitute), flour, low-sodium chicken broth, salt, pepper
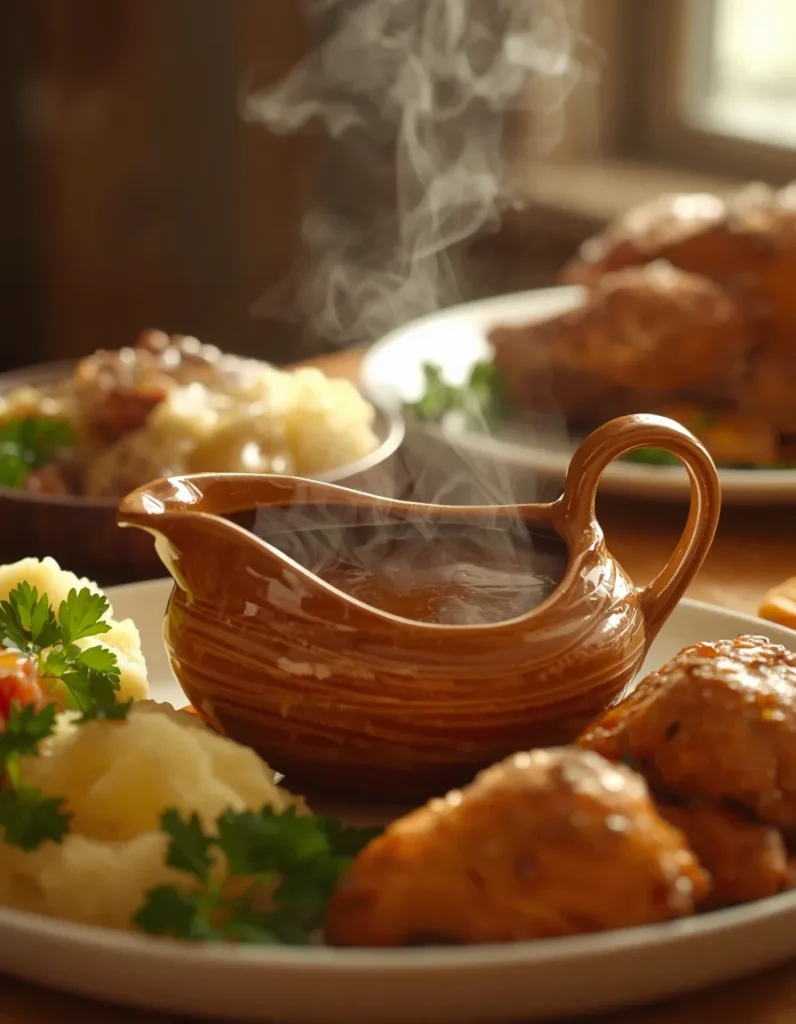
Pairs beautifully with: One Pan Roast Chicken and Vegetables, Slow Cooker Chicken Breast, or Stuffing Baked Chicken — really, anything that could use a rich, savory finish.
Per serving (approx.): 49 calories, 1g fat, 36mg sodium
Once you’ve made gravy this way a couple of times, measuring cups start to feel optional. You’ll know by look and feel when it’s ready — and that’s when you know it’s officially become a staple in your kitchen, not just a recipe you followed once.