7 Secrets to Perfect Braised Beef Shank in Red Wine
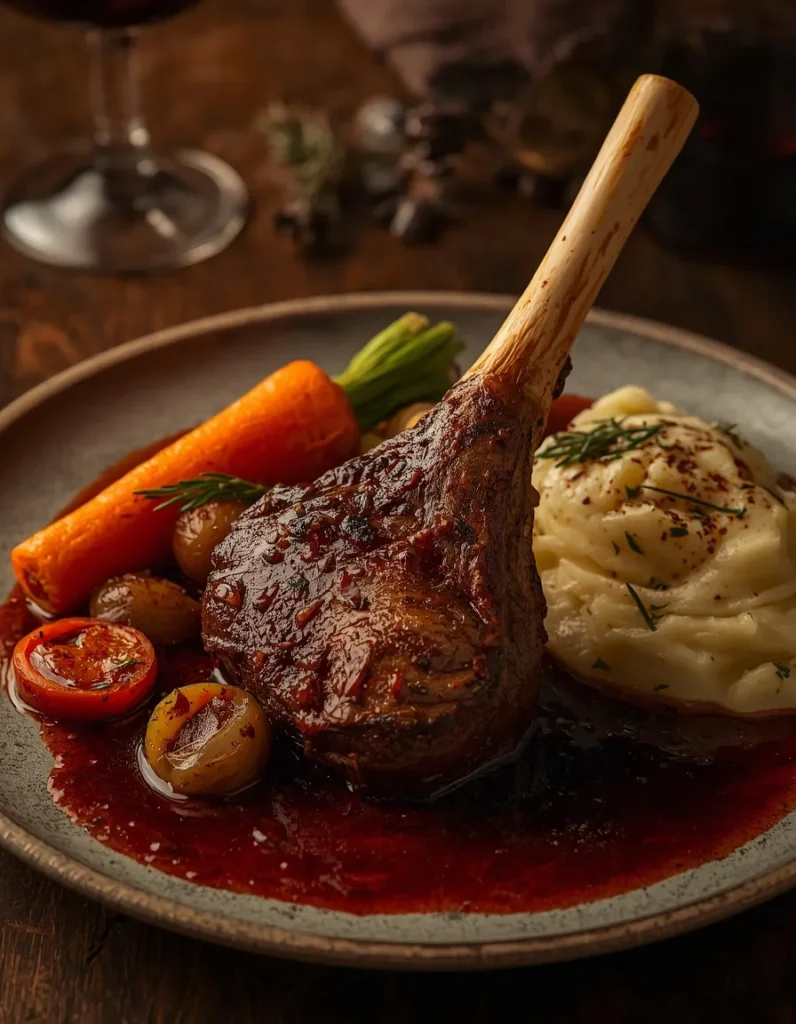
Table of Contents
Braised Beef Shank in Red Wine
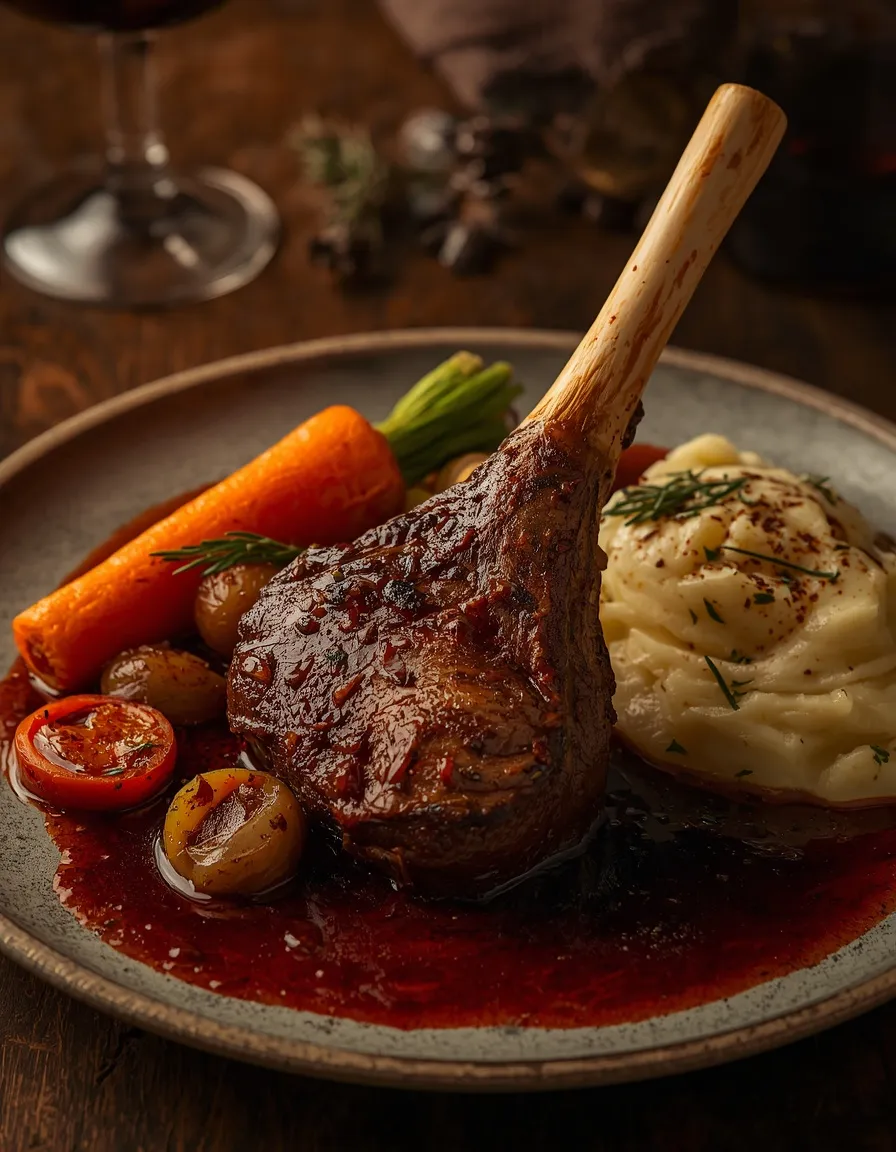
Some dishes need nothing extra to win you over. A beef shank that’s simmered for hours, until the meat falls right off the bone at the slightest touch of a fork, is one of them. It’s the kind of meal you serve on a cold Sunday evening, with a good bottle open and nothing much to do but wait for the oven to work its magic.
This recipe takes a braising classic and pushes it a step further, with a few adjustments that make all the difference between a decent dish and one you’ll want to make again just to impress your guests. The result: fall-apart tender meat, a sauce with an almost indecent richness, and that feeling of having eaten at a restaurant without ever leaving your kitchen.
Why This Recipe Works
Two details set this braised shank apart from an ordinary stew, and both come from an almost scientific approach to cooking — the kind of thinking found in cooks who break down every step to understand exactly why it works.
The first is umami. A simple splash of soy sauce, added to the braising liquid, isn’t some random Franco-Asian heresy. It brings an earthy, savory depth that supports the flavor of the meat without ever announcing itself. No one will guess the ingredient when tasting the sauce — they’ll just sense it has “something extra.”
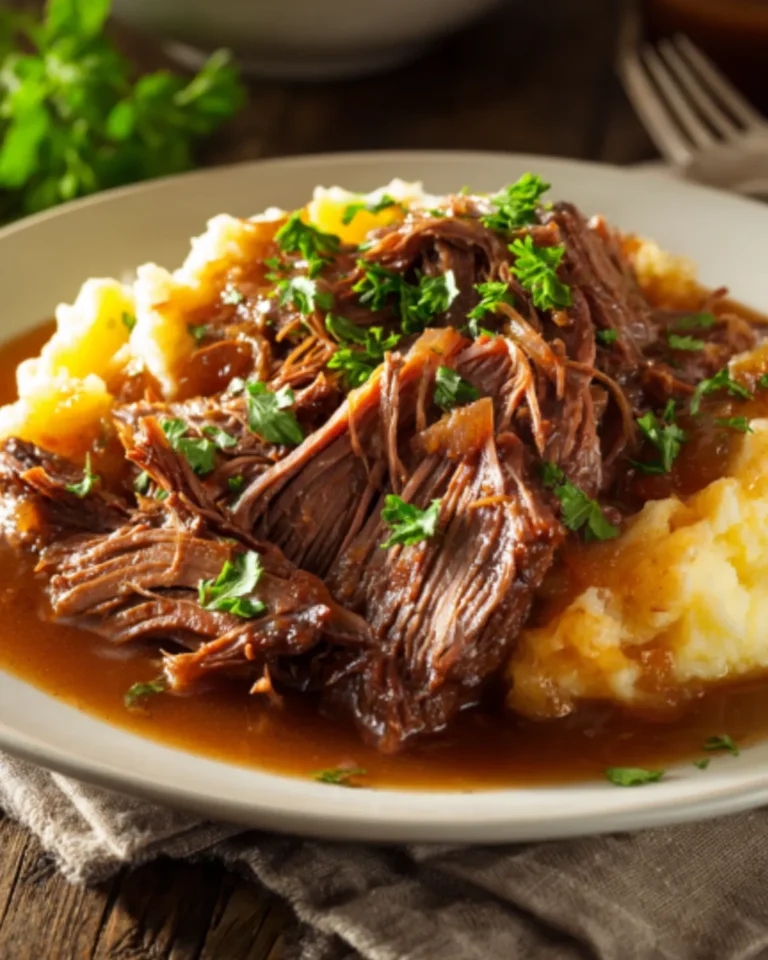
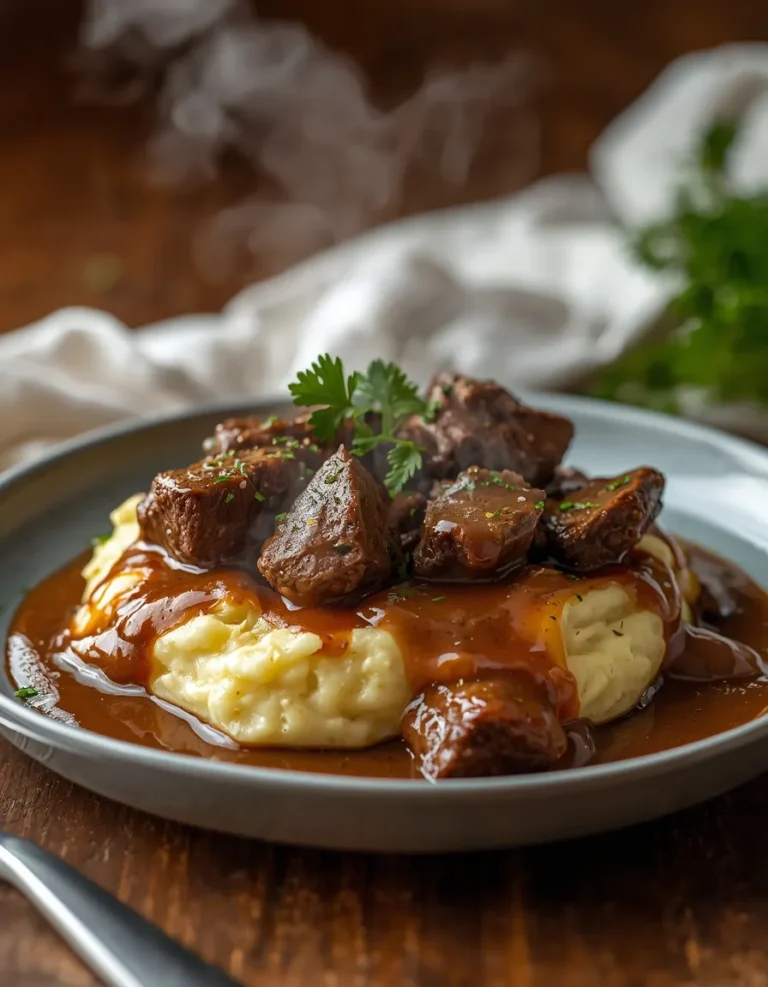
The second is technique. In a classic stew, the aromatic vegetables — onions, carrots, celery — cook slowly and then stay as they are in the dish, somewhat in the background. Here, it’s the opposite: once cooking is done, they’re blended directly into the braising liquid. This step transforms a somewhat thin broth into a thick, smooth, velvety sauce that coats the meat instead of just accompanying it. This detail, more than any other, gives the dish its restaurant-quality feel.
If you enjoy tender, slow-cooked beef recipes, you may also want to try our Slow Cooker Sirloin Tip Roast. It uses a simple low-and-slow cooking method to turn a lean cut of beef into a tender, flavorful dinner with rich onion gravy.
For another well-tested approach to this classic dish, you can also compare this recipe with the Red Wine-Braised Beef Shanks recipe from Serious Eats. Their method also emphasizes browning the shanks before a long, slow braise, then blending the cooked aromatics with the braising liquid to create a smooth, rich sauce.
The Case for Boxed Wine
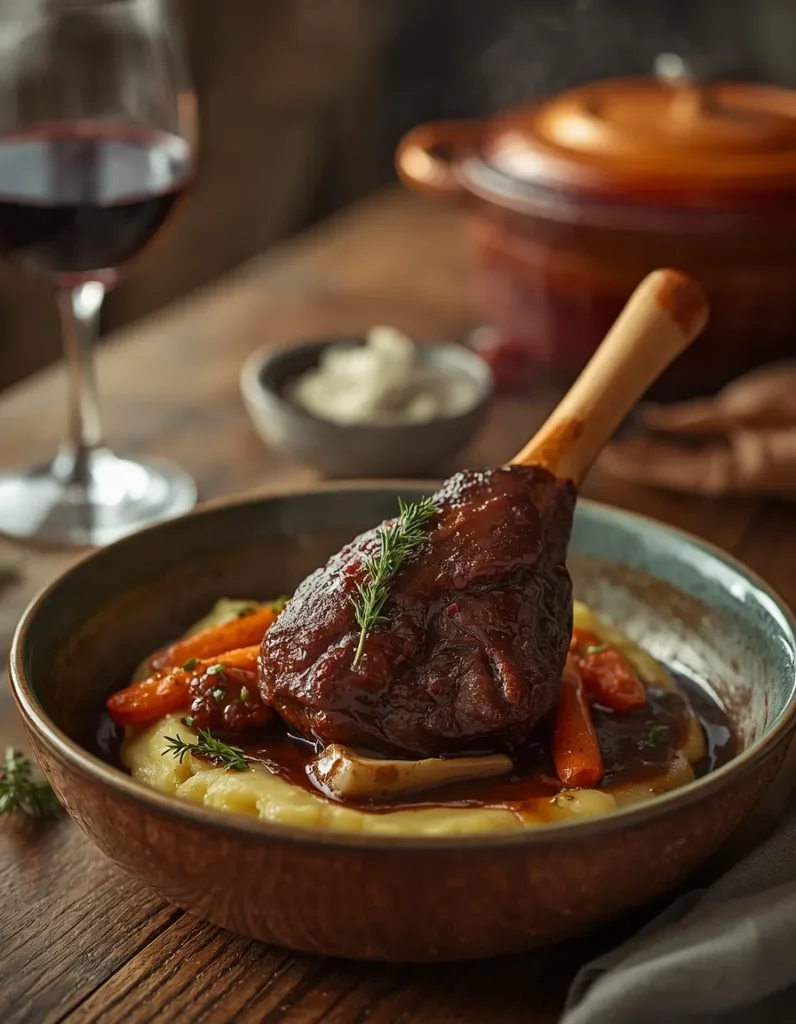
This recipe calls for a surprising amount of wine: about six cups, or roughly two full bottles. Opening two decent bottles just for cooking doesn’t really make sense, especially if no one’s drinking the rest with dinner.
This is where boxed wine becomes an ally rather than a compromise. You draw exactly the amount you need, with no waste, and you’re not left with an opened bottle turning to vinegar on the counter. Thanks to its airtight packaging, boxed wine keeps noticeably longer after opening than a traditional bottle — several weeks, compared to just a few days for wine exposed to air. For everyday cooking, where you often need just a splash of wine without sacrificing a good bottle, it’s also the more economical choice. No one will taste the difference in the finished sauce — braising has a way of transforming even a modest wine into something rich and complex.
Don’t Forget the Marrow
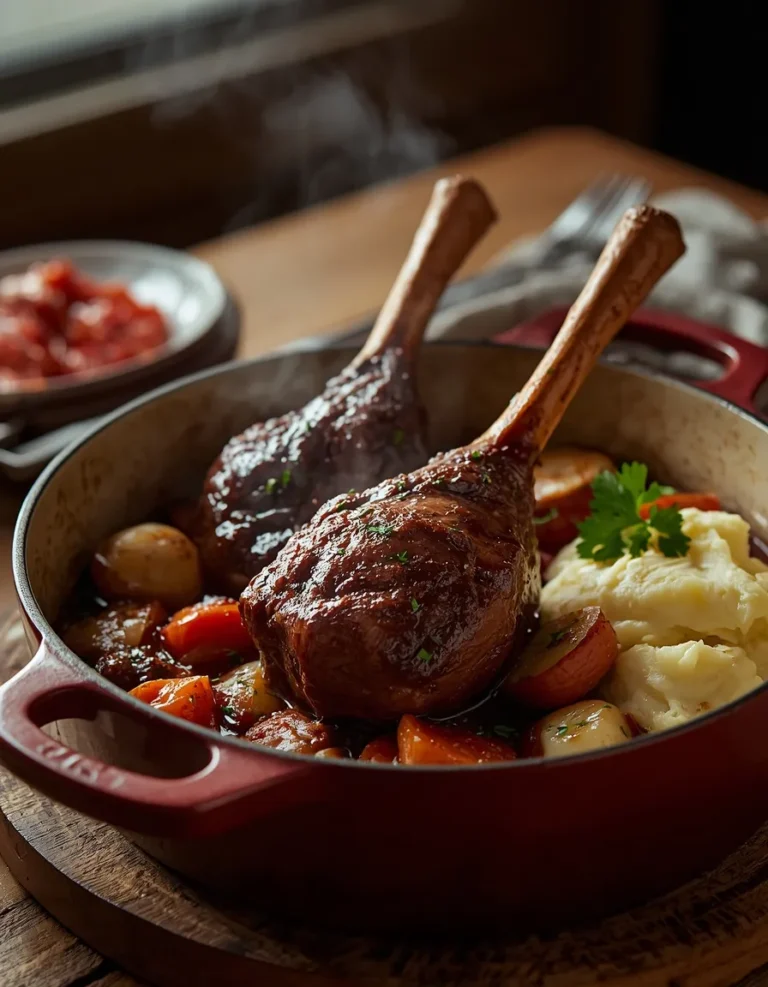
One detail many recipes overlook: shank slices contain a marrow bone, often nestled right in the center. Many consider the marrow to be the best part of the dish, the bit people quietly scrape from their plate once the meat is gone.
To make sure it isn’t lost during serving, it’s worth giving guests a heads-up or simply providing a small spoon with each plate. Spread on a piece of toasted bread, stirred into the sauce, or simply eaten on its own, the marrow adds a silky richness that perfectly rounds out the dish.
Mastering the Prep, Step by Step
It all starts with searing. The shanks need about five minutes per side, in a large roasting pan rather than a regular skillet, to avoid overcrowding the cooking surface. Crowded meat steams instead of browning, and this step is exactly what builds much of the final flavor.
Next comes the slow braise: three and a half hours in a 300°F (150°C) oven, covered with foil. Halfway through, the foil comes off, letting the meat finish developing its texture while the liquid reduces slightly.
The finishing touches take a bit of care, but nothing complicated. Skim the fat from the cooking liquid, remove the herbs that have infused the sauce, then run an immersion blender directly into the liquid along with the aromatic vegetables. Blend until you get a smooth sauce, thick enough to coat the back of a spoon without running off immediately.
Storage and Make-Ahead Tips
Like most braised dishes, this one gets better the next day, once the flavors have had time to fully meld. It’s an ideal dish to prepare the day before a dinner party, freeing up your time when it matters most.
It keeps in the refrigerator, in its sauce, for up to 4 days. When reheating, if the sauce has thickened too much while chilling, simply add a splash of water or broth to bring it back to the right consistency, warming gently so the meat doesn’t dry out.
How to Serve It
At serving time, a simple sprinkle of fresh chopped parsley is enough to brighten the dish, adding both color and a touch of freshness that contrasts nicely with the richness of the sauce.
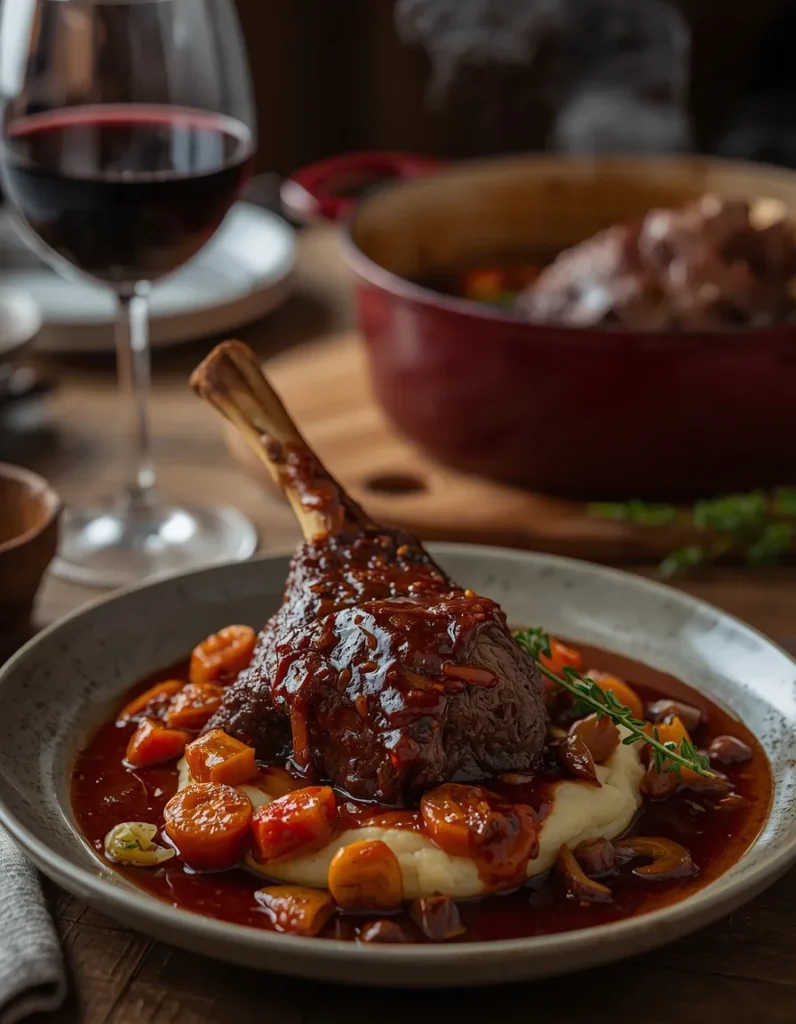
Traditionally, this kind of braise pairs beautifully with creamy mashed potatoes or velvety polenta — both perfect bases for soaking up every last drop of that rich sauce.