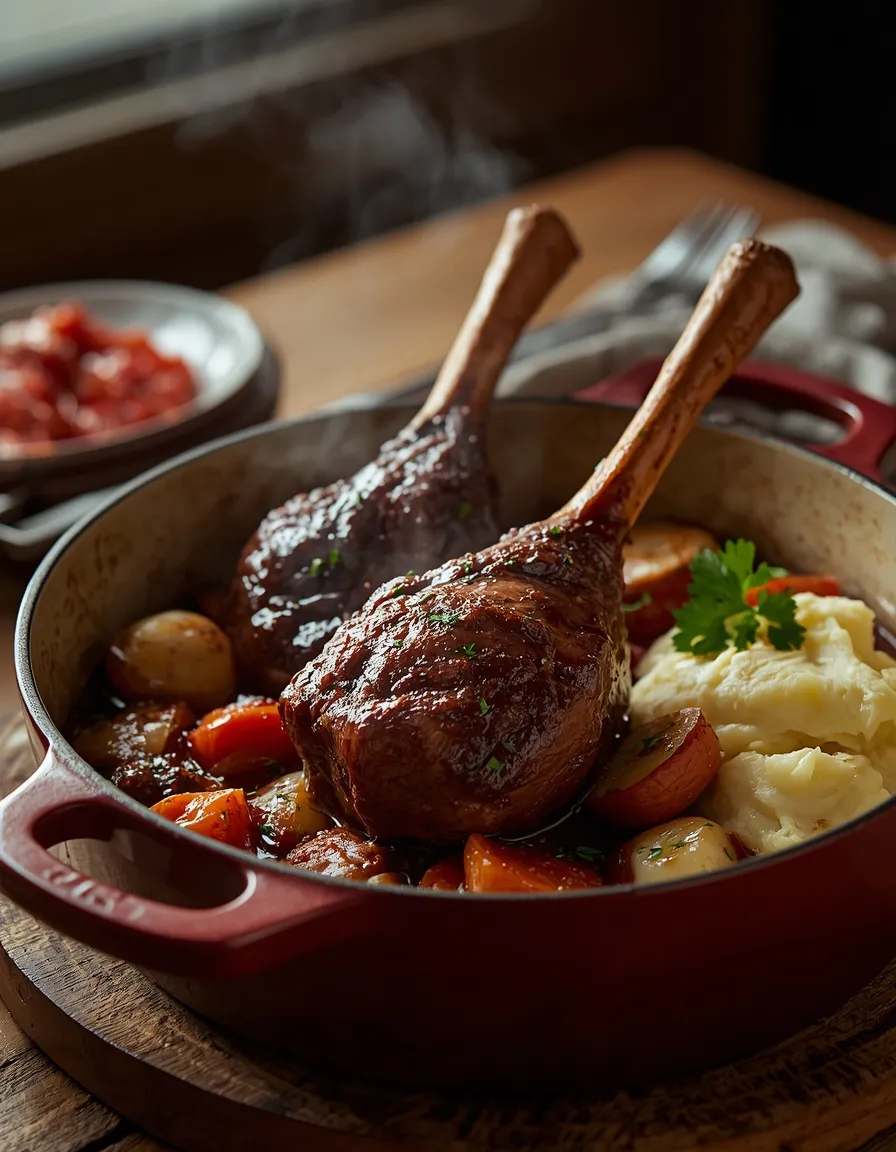
Braised Beef Shanks: 7 Ultimate Tips for Fall-Apart Tender Beef
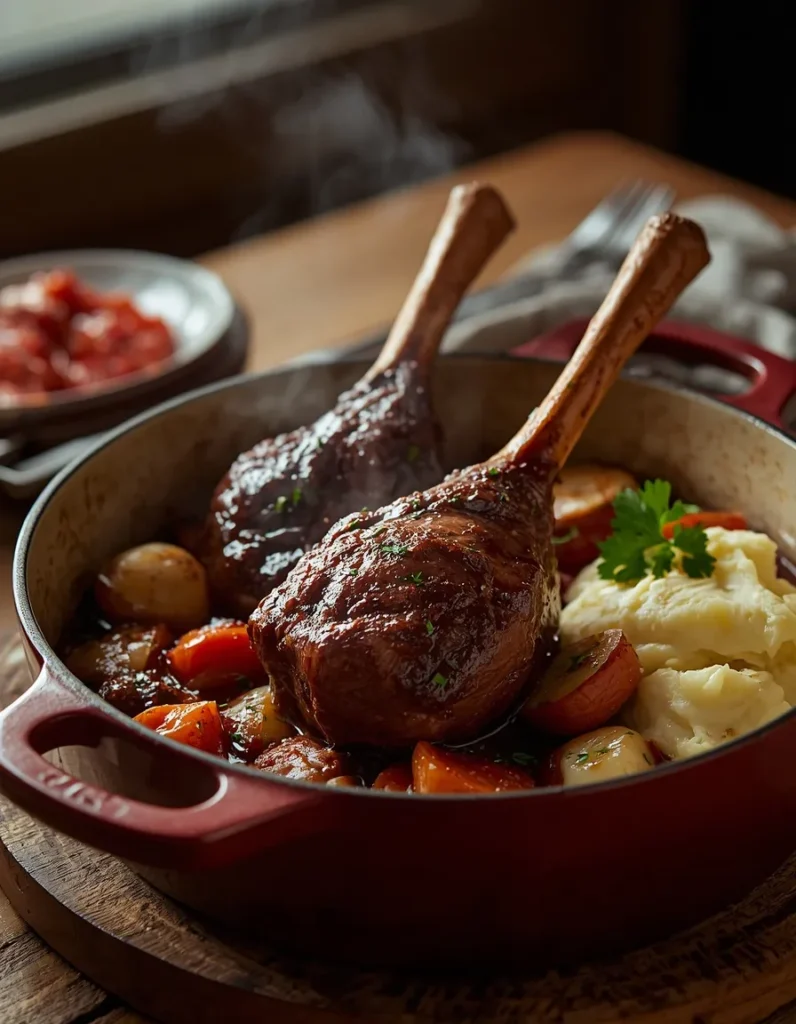
Table of Contents
Braised Beef Shanks Done Right
There is a particular kind of kitchen alchemy that happens when a tough, inexpensive cut of meat spends a few hours transforming into something you’d expect to pay forty dollars for at a white-tablecloth restaurant. Braised beef shanks are the clearest example of that alchemy in action. What starts as a modest, often overlooked cut becomes a dish rich enough to anchor a holiday table and simple enough to pull off on a random Tuesday.
Prep Time: 30 minutes Cook Time: 2.5 to 3 hours Dietary Profile: Keto-friendly, low-carb, gluten-free Yield: 4–6 servings
This is a one-pot dish in the truest sense. Everything happens in a single Dutch oven, from the initial sear to the final reduction, which means fewer dishes and a deeper, more concentrated flavor than you’d get from juggling multiple pans.
The Secret to “Fall-Apart” Beef
The magic behind this recipe isn’t a special ingredient. It’s technique. Beef shanks are packed with collagen-rich connective tissue and intramuscular fat, both of which make the raw cut chewy and unforgiving if cooked quickly over high heat. Braising flips that liability into an asset.
Cooking “low and slow” — a long stretch of time at a relatively gentle oven temperature, submerged partially in liquid — gives that collagen the time it needs to break down into gelatin. That gelatin is what gives the finished sauce its glossy, almost velvety body, and it’s also what gives the meat its signature texture: tender enough to separate with the gentle pressure of a fork, no knife required. Rush the process with high heat and you’ll end up with meat that’s tough on the outside and only marginally better on the inside. Patience is the actual secret ingredient here.
If you love rich, slow-cooked beef dishes, you’ll also want to try our Braised Beef Shank in Red Wine. It features fall-apart tender beef, a deeply flavorful red wine sauce, and plenty of marrow-rich flavor for an impressive comfort meal.
Osso Buco: From Budget Cut to Gourmet
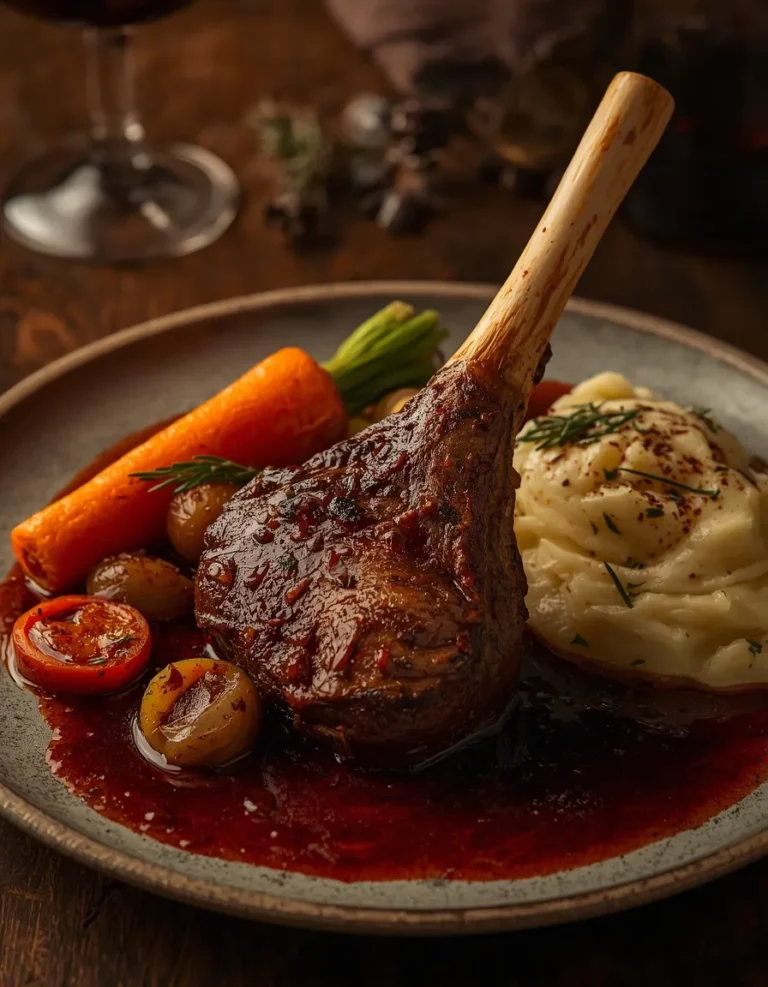
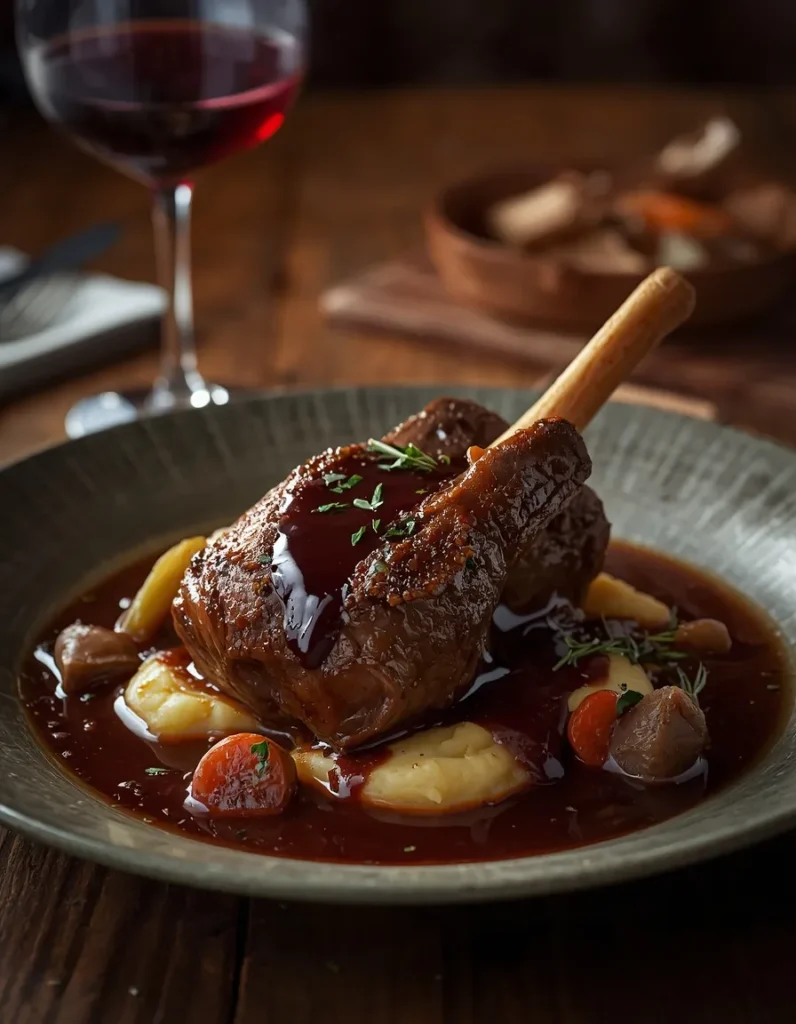
Beef shanks — sometimes labeled beef shins at the butcher counter — come from the leg of the animal, a heavily worked muscle group that’s naturally lean on price but rich in flavor once properly cooked. Cross-cut into rounds, each piece reveals a marrow-filled bone at its center, which is where this preparation gets its name in the Italian tradition: Osso Buco, literally “bone with a hole.”
That marrow isn’t just decorative. As it renders during the long braise, it adds another layer of richness to the sauce, tying the dish back to its roots as peasant food elevated by technique rather than expense. That history is part of what makes it such a good fit for entertaining. It reads as fancy, but the actual hands-on effort is minimal, which makes it a smart choice for holidays or dinner parties where you’d rather be with your guests than tied to the stove.
Essential Ingredient & Flavor Guide for Braised Beef Shanks
The aromatic base. Diced celery, carrots, and onion — the classic mirepoix — form the backbone of the braise, joined by a generous amount of garlic. Sweated slowly before the liquid goes in, these vegetables build a savory foundation that the beef and sauce absorb over the following hours.
The umami layer. A spoonful of tomato paste, cooked briefly to deepen its color and flavor, adds concentrated savoriness without turning this into a tomato-forward sauce. Fresh herbs — parsley, thyme, and rosemary — layer in brightness and complexity that balance the richness of the meat.
The liquid ratio. This recipe leans on a 1:3 ratio of dry red wine to beef stock. That proportion keeps the carb count in check for anyone following a keto or low-carb approach, while still giving the sauce the acidity and depth that wine contributes. A mid-shelf dry red — Cabernet Sauvignon, Merlot, or Malbec all work well — is the right call. Save the expensive bottle for drinking alongside dinner.
No wine on hand? Swap it for a splash of balsamic vinegar plus additional stock. You’ll lose a bit of complexity but keep the acidity that the dish needs to stay balanced.
Visual Step-by-Step: The Searing and Braising Process for Braised Beef Shanks
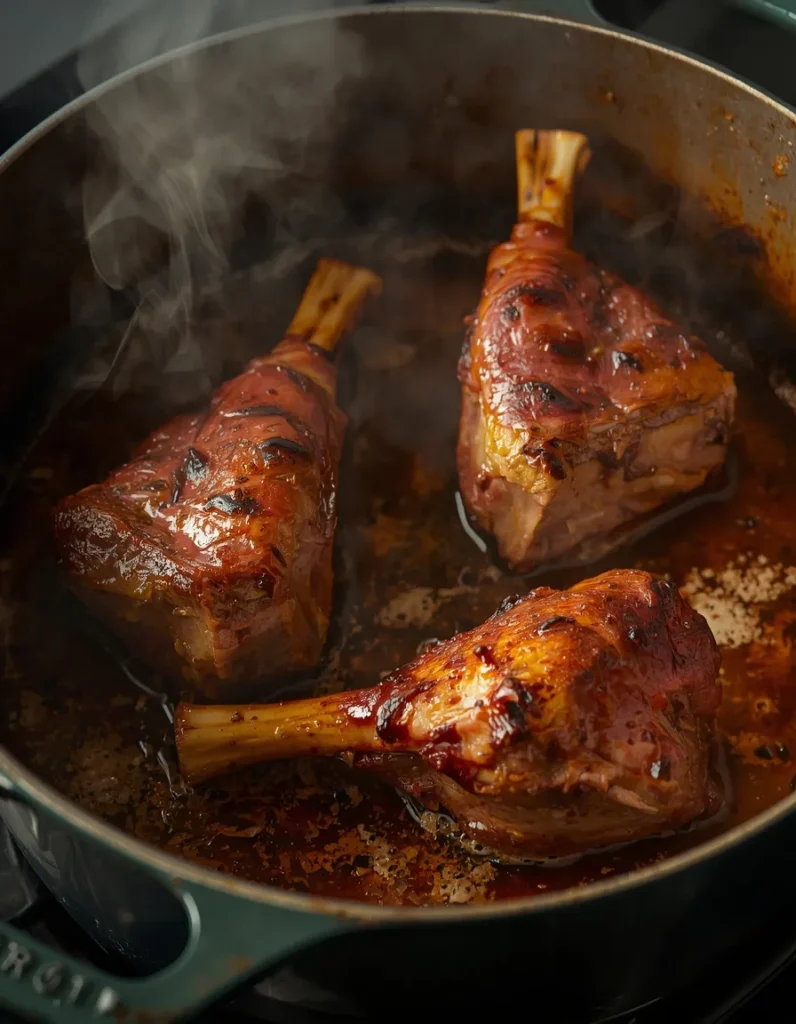
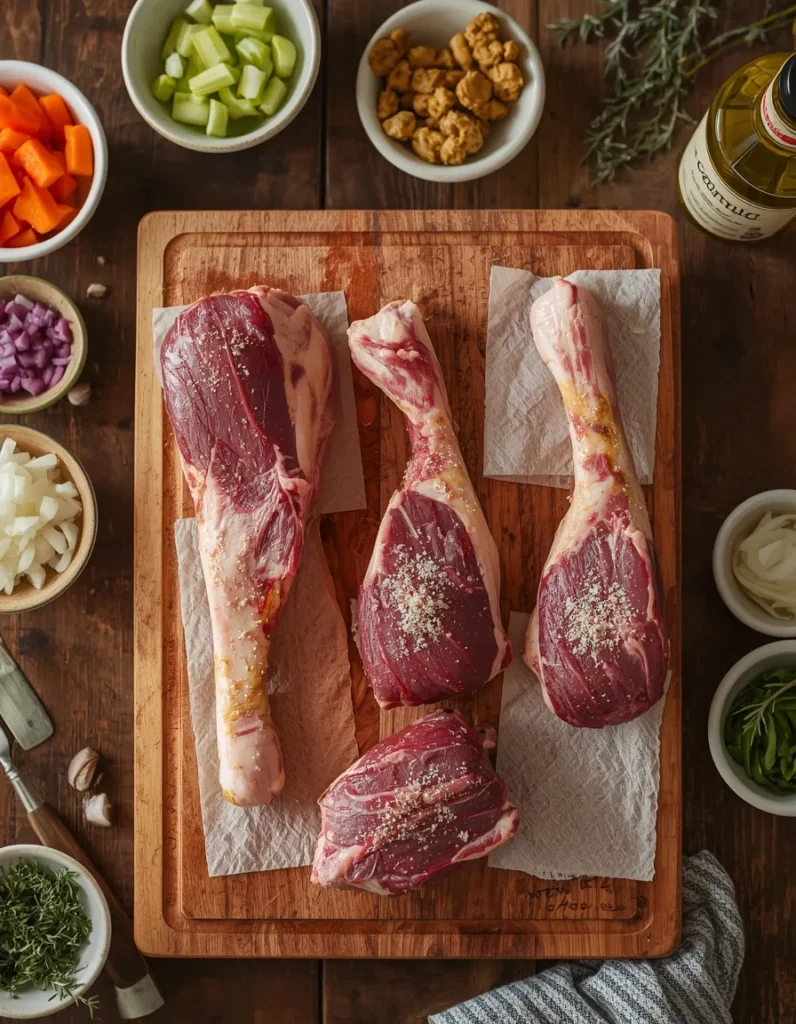
Start by patting the shanks completely dry — moisture is the enemy of a good sear. Brown the meat in batches in a hot Dutch oven, giving each piece enough room to develop real color rather than steaming. This step does more for the final flavor of the dish than almost anything else in the recipe.
Once the meat is set aside, the wine and stock go in to deglaze the pot, and this is where a wooden spoon becomes essential. Scraping up the browned bits stuck to the bottom — the fond — releases concentrated flavor directly into the braising liquid. Skipping this step means leaving flavor behind in the pot.
From there, it’s a “set it and forget it” phase. Return the meat to the pot, cover it, and transfer everything to a 350°F oven for the long simmer that does the real work.
Want to compare another oven-braised approach? This braised beef shanks oven recipe offers another method for preparing tender beef shanks with red wine, beef stock, vegetables, and aromatics. It’s a useful reference if you’re looking for another take on this classic one-pot comfort meal.
Troubleshooting and Pro Tips for Perfection
How do you know it’s done? The two-fork pull test is the most reliable gauge — the meat should separate with minimal resistance. As a more precise backup, aim for an internal temperature around 195°F, the point at which collagen has fully broken down.
Managing the fat. Trim visible excess fat from the shanks before searing, and skim any rendered fat off the surface of the sauce before serving for a cleaner finish.
Storage. Leftovers keep well in the refrigerator for up to five days. One practical tip: chilled fat solidifies on top of the sauce, making it easy to lift off in a single piece before reheating — an easy way to lighten the dish further.
The Perfect Pairing
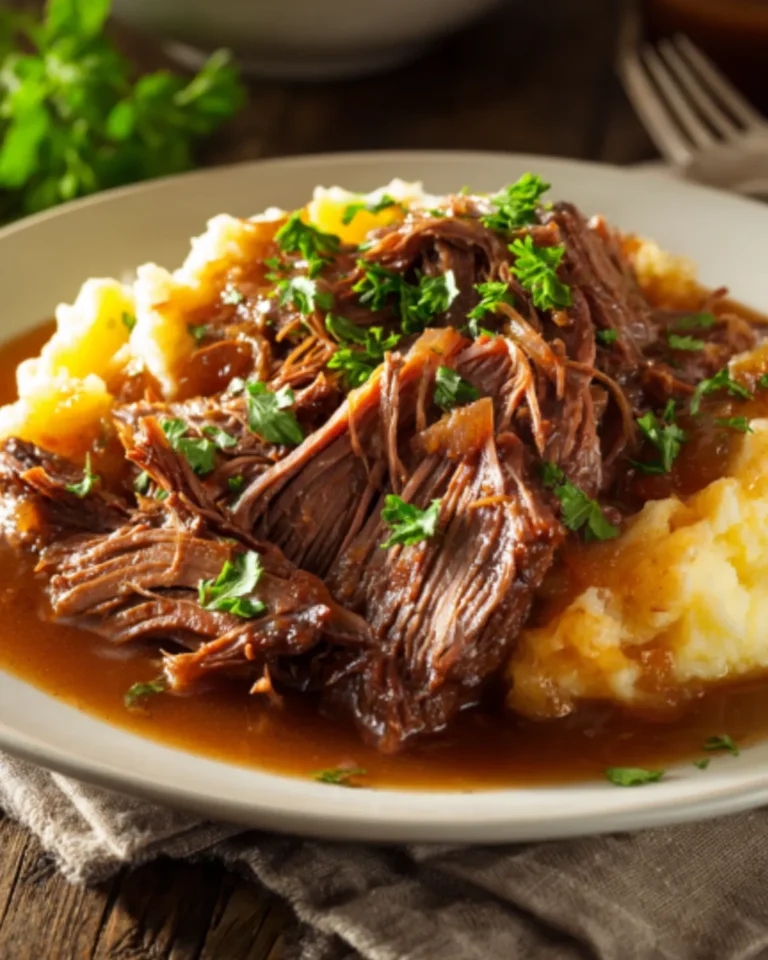
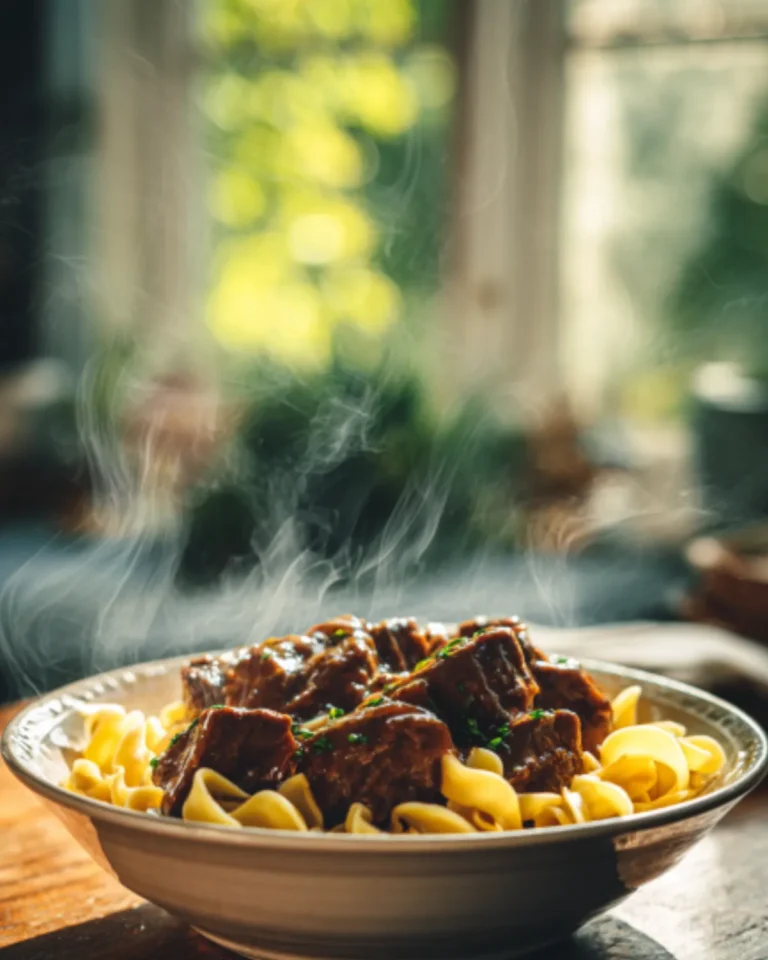
Serve the shanks and their sauce over a low-carb base built to soak up every drop of pan juice — cauliflower mash, cauliflower risotto, or simple cauli rice all work beautifully. Balance the richness with something bright on the side, like a Fall Kale Salad or a Pomegranate Feta Salad, to cut through the depth of the braise.
Finish the plate with a scattering of fresh parsley and a drizzle of the reduced braising liquid. It’s a small step, but it’s the one that pulls the whole dish together and makes it feel finished.