
Crispy Fried Chicken: 7 Secrets for Extra Crunchy Chicken
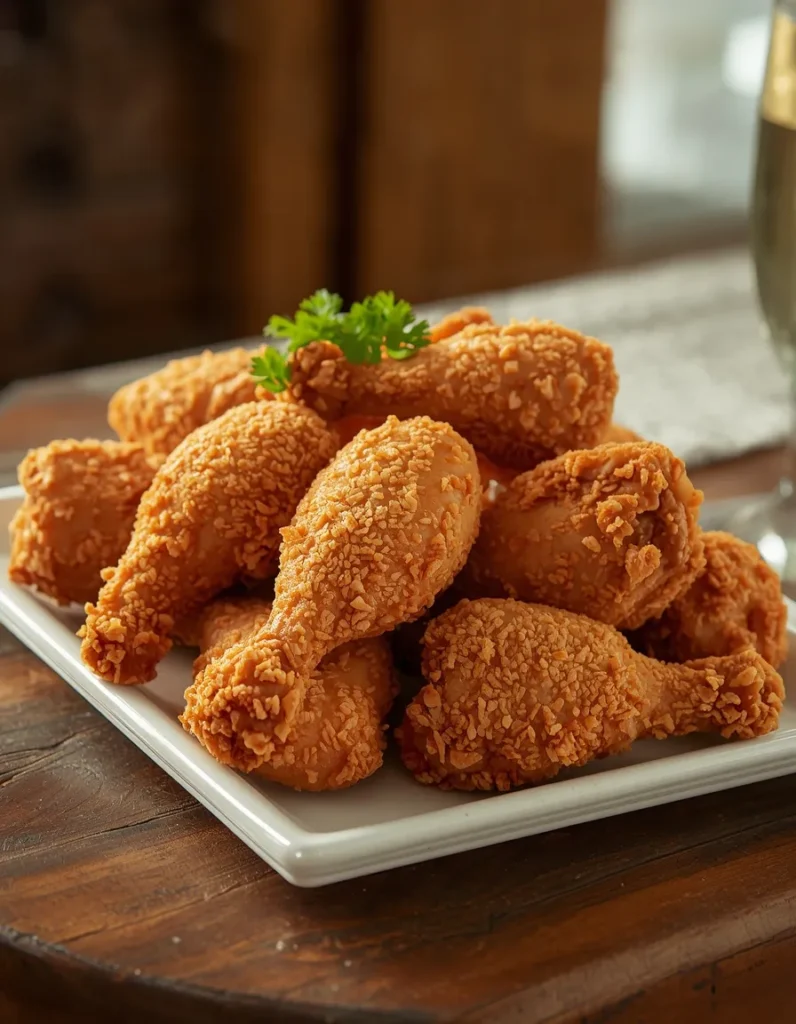
Table of Contents
The Ultimate Crispy Fried Chicken Recipe
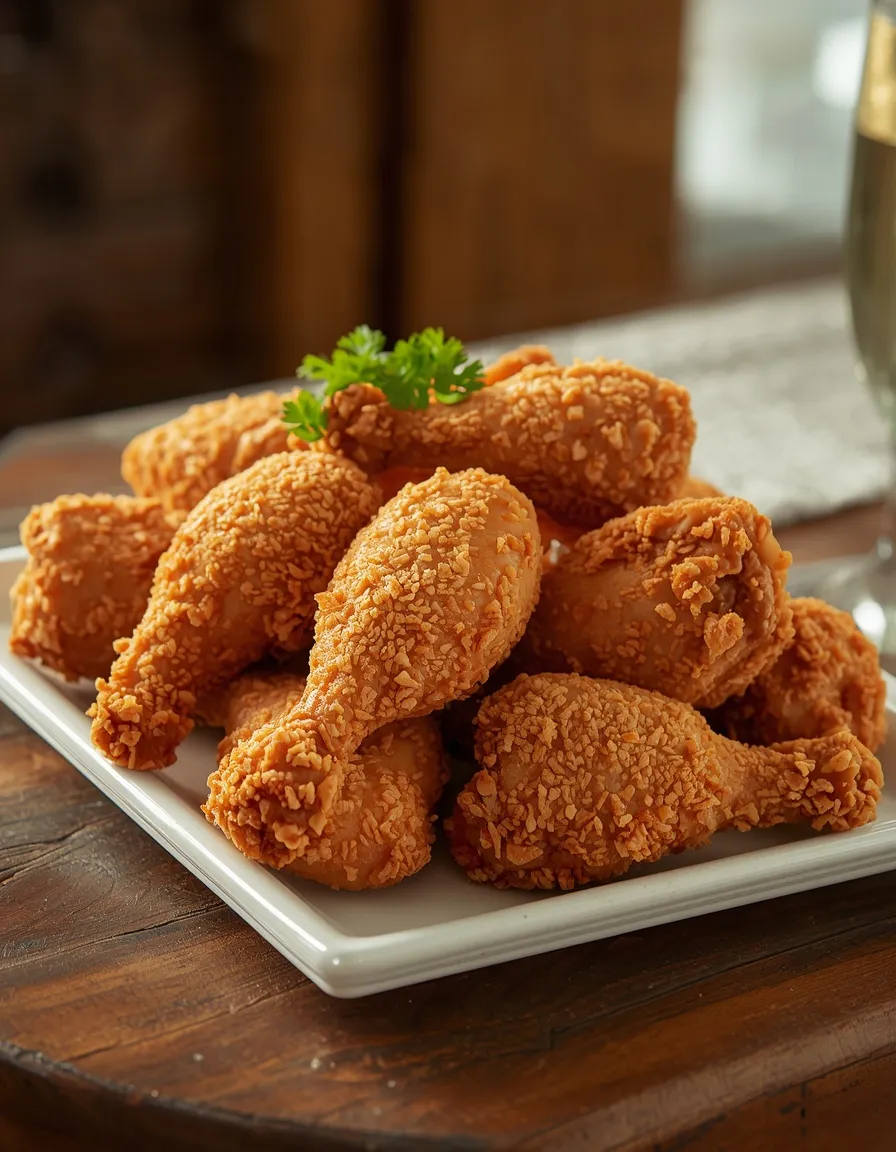
There is something irresistible about a plate of Crispy Fried Chicken with a crunchy golden coating and juicy, tender meat underneath. This classic comfort food is a favorite for family dinners, weekend gatherings, picnics, and Southern-inspired meals.
What makes this recipe especially appealing is the texture. The chicken is coated in seasoned flour and buttermilk, allowed to rest before frying, and then cooked using a simple three-stage method. The result is a deeply golden crust that stays crisp while the chicken remains flavorful and tender inside.
With just 15 minutes of preparation and straightforward ingredients, you can make a satisfying homemade fried chicken dinner that everyone will want seconds of.
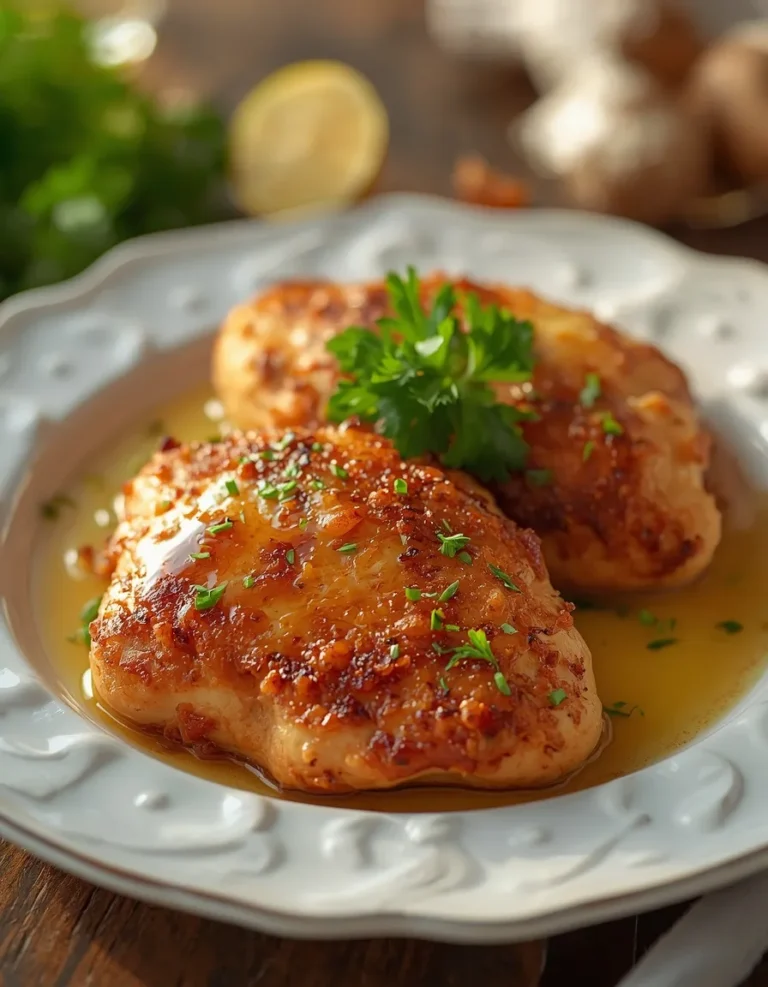
If you’re looking for another comforting chicken dinner, try our Classic Creamy Chicken Marsala. It features tender pan-seared chicken, golden mushrooms, and a rich, creamy Marsala sauce. It’s a delicious alternative when you’re craving a flavorful chicken meal without the frying.
What Makes This Fried Chicken So Crispy?
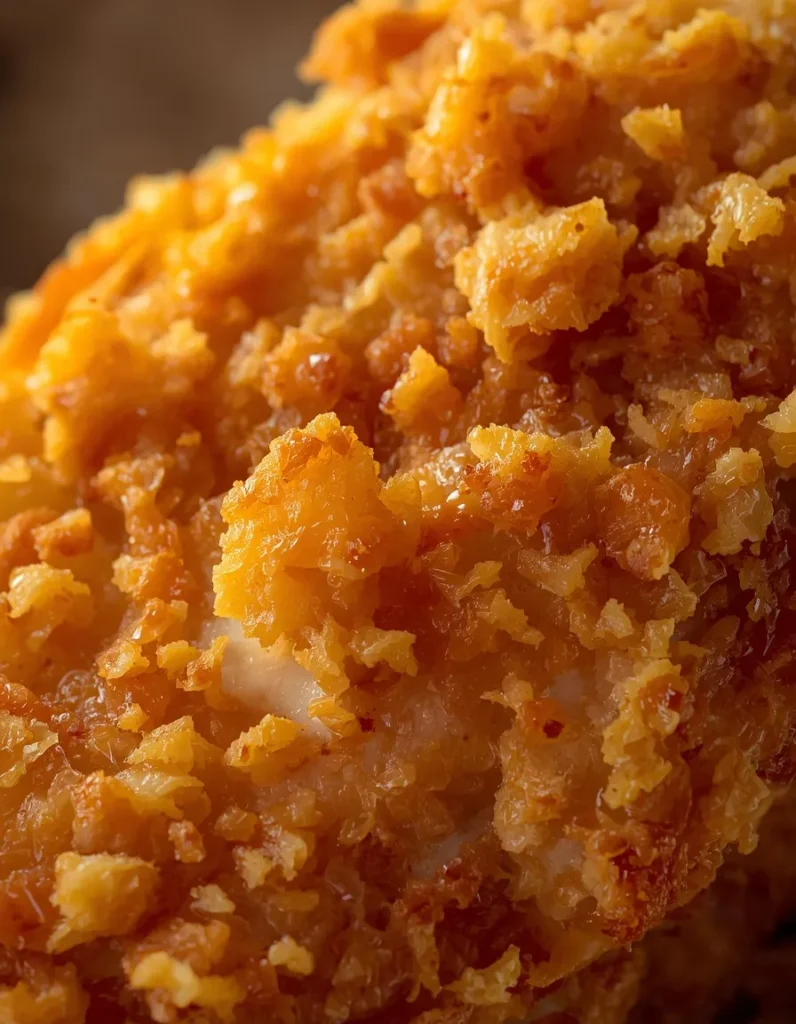
The secret isn’t simply dropping chicken into hot oil. A few important techniques work together to create that crunchy exterior.
Let the Coating Rest
After the chicken is dipped in buttermilk and coated with seasoned flour, don’t fry it immediately. Let the coated pieces rest until the flour develops a paste-like consistency.
This step helps the coating adhere securely to the chicken. During frying, the paste-like layer develops into a rugged, crunchy crust instead of sliding away from the meat.
The buttermilk also helps the flour stick while adding moisture and tenderness to the chicken.
Use Three Stages of Heat
This recipe uses three different stages during cooking.
First, the chicken starts in very hot oil to brown the coating and establish the crust. Next, the heat is reduced and the skillet is covered, allowing the chicken to cook thoroughly without burning the exterior. Finally, the cover is removed and the heat is increased again to restore the crunch.
This approach gives you a browned crust while helping the thicker chicken pieces cook through.
Why Add Paprika?
Paprika provides a subtle savory and smoky flavor while contributing to the attractive golden-brown appearance of the coating. Combined with salt and black pepper, it creates a simple seasoning blend that complements the chicken without overpowering it.
Ingredients for Crispy Fried Chicken
You only need a handful of basic ingredients to prepare this recipe.
- 1 whole chicken (4 pounds), cut into pieces
- 1 cup buttermilk
- 2 cups all-purpose flour
- 1 teaspoon paprika
- Salt, to taste
- Ground black pepper, to taste
- 2 quarts vegetable oil, for frying
You can also use approximately 4 pounds of individual chicken pieces, including breasts, thighs, drumsticks, and wings. If preferred, remove the skin before cooking, although keeping the skin provides additional flavor and contributes to the classic fried chicken texture.
Why Buttermilk Works
Buttermilk is an important part of this recipe. Its mild acidity helps tenderize the chicken while keeping the meat from becoming tough. It also gives the flour coating something to cling to, helping create a more substantial crust.
For the best results, make sure each chicken piece is well coated with buttermilk before transferring it to the seasoned flour.
Choosing the Right Oil
Vegetable oil is a practical choice because it has a relatively high smoke point and a neutral flavor. You need enough oil to fill a large skillet approximately one-third to one-half full.
Always leave sufficient space at the top of the skillet because hot oil can bubble significantly when chicken is added.
How to Make Crispy Fried Chicken
1. Prepare the Seasoned Flour
Add the all-purpose flour to a large plastic bag. Add the paprika, salt, and ground black pepper.
Seal the bag and shake it gently to distribute the seasonings throughout the flour. This creates an evenly seasoned coating for every piece of chicken.
2. Dip the Chicken in Buttermilk
Pour the buttermilk into a shallow bowl. Dip several chicken pieces into the buttermilk, making sure they are thoroughly coated.
Allow excess buttermilk to drip off briefly before transferring the chicken pieces to the seasoned flour mixture.
3. Coat the Chicken
Place a few buttermilk-coated chicken pieces into the flour bag at a time. Seal the bag securely and shake until every piece is covered.
Avoid overcrowding the bag. Working in smaller batches makes it easier to coat the chicken evenly.
4. Let the Coating Rest
This is one of the most important steps in the entire recipe.
Transfer the coated chicken to a tray covered with a clean dish towel or waxed paper. Let the chicken rest for approximately 30 minutes, or until the flour coating becomes paste-like.
Don’t skip this step. The resting period allows the flour and buttermilk to bond together, giving you a coating that is much more likely to stay attached during frying.
5. Start Frying
Fill a large skillet, preferably cast iron, about one-third to one-half full with vegetable oil.
Heat the oil until very hot. Carefully place the chicken pieces into the skillet, working in batches if necessary. Fry the pieces on both sides until the coating becomes nicely browned.
Be careful when adding the chicken because hot oil can splatter.
6. Lower the Heat and Cover
Once the chicken has browned, reduce the heat and carefully cover the skillet.
Continue cooking for approximately 30 minutes. This lower-temperature stage allows the chicken to cook thoroughly while the crust continues developing.
Keep an eye on the oil and maintain a steady cooking temperature rather than allowing it to become excessively hot.
7. Finish With High Heat
Remove the lid and increase the heat again. Continue frying until the coating becomes deeply golden and extra crispy.
This final stage helps drive away excess moisture from the exterior and brings back the crunch that makes homemade fried chicken so satisfying.
Transfer the finished pieces to a paper towel-lined plate or tray to drain.
If you’re working in multiple batches, keep the finished chicken warm in a low oven while you cook the remaining pieces.

What to Serve With Crispy Fried Chicken
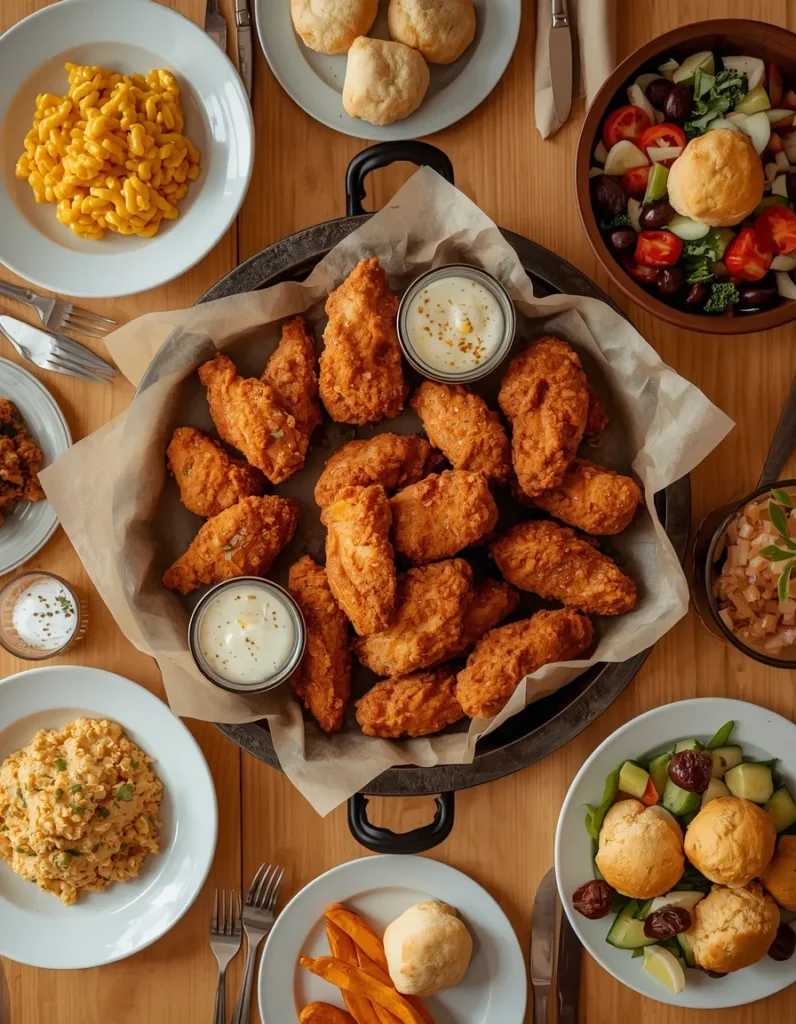
A plate of Crispy Fried Chicken becomes even better with classic Southern-inspired side dishes.
Creamy macaroni and cheese makes a comforting pairing, while yellow squash casserole provides a tender vegetable side. You can also serve the chicken alongside succotash for a colorful combination of vegetables.
For a complete meal, consider adding a simple green salad, coleslaw, biscuits, mashed potatoes, or another favorite family side.
The crunchy chicken also works well for casual gatherings, picnics, and weekend lunches.
Storage and Reheating
Allow leftover fried chicken to cool completely before storing it. Place the pieces in a shallow airtight container or wrap them tightly in aluminum foil.
Refrigerated leftovers can be stored for up to 4 days.
When you’re ready to eat the chicken, reheat it in the oven or microwave. For the best chance of preserving the crispy coating, oven reheating is generally preferable because dry heat helps restore some of the crust’s texture.
Avoid storing hot chicken in a sealed container, as trapped steam can make the coating soft.
Easy Variations and Community Tips
One of the great things about fried chicken is how easily you can customize the seasoning.
For a more savory coating, add a little garlic powder to the seasoned flour. If you enjoy heat, crushed red pepper can give the crust a spicy kick.
Some home cooks also brush the chicken lightly with mustard before dredging. The mustard adds another layer of flavor and can help the coating adhere.
Another approach is to deep-fry the chicken at a consistent 350°F (180°C) for approximately 12 to 15 minutes, depending on the size of the pieces. This method differs from the covered-skillet technique but can produce evenly fried chicken when the oil temperature is carefully maintained.
Regardless of the variation you choose, always make sure the chicken is fully cooked before serving.
Crispy Fried Chicken Recipe at a Glance
Prep Time: 15 minutes
Cook Time: 35 minutes
Resting Time: 30 minutes
Total Time: 1 hour 20 minutes
Servings: 8
This recipe has a 4.7 out of 5-star rating from 767 ratings and 612 reviews, according to the recipe information provided.
Nutrition Information
Each serving contains approximately 489 calories, with 41g protein, 30g carbohydrates, and 22g total fat.
Additional nutrition per serving includes approximately 1g fiber, 2g sugars, 6g saturated fat, 116mg cholesterol, 140mg sodium, 385mg potassium, 62mg calcium, and 3mg iron.
The stated fat calculation assumes approximately 10% oil retention after frying, so actual nutritional values can vary depending on the amount of oil absorbed during cooking.
If you enjoy comparing different fried chicken techniques, you can also explore this Crispy Fried Chicken recipe from Allrecipes for another take on preparing this classic comfort food. Comparing techniques can help you find the coating, seasoning, and frying method that best suits your kitchen and preferences.
The Secret to Great Homemade Fried Chicken
Making truly Crispy Fried Chicken at home comes down to a few simple details: coat the chicken thoroughly, let the flour mixture rest until it becomes paste-like, control the frying temperature, and finish with a final burst of heat.
The result is golden, crunchy chicken with tender meat inside. Serve it alongside your favorite Southern-inspired sides for a comforting meal that’s perfect for sharing with family and friends.
One Comment