
Oven Baked Chicken Quarters: 7 Amazing Tips for Crispy, Juicy Chicken
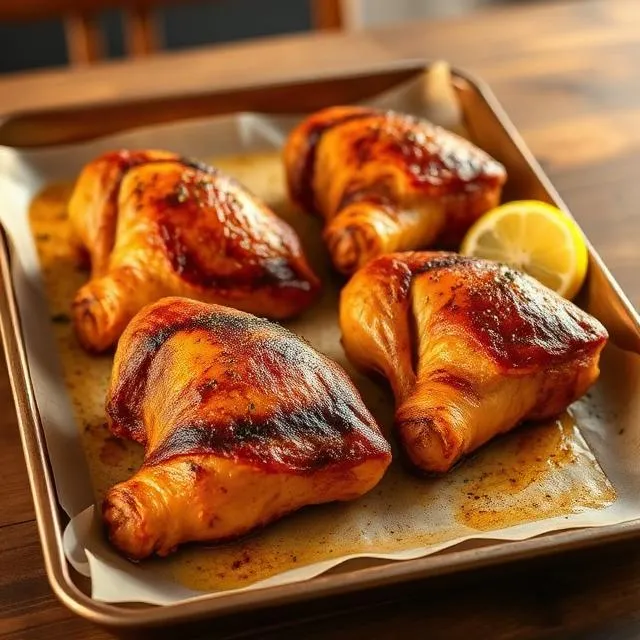
Table of Contents
The Ultimate Easy Sheet-Pan Dinner: Best Damn Oven Baked Chicken Quarters
If your weeknight dinner rotation is starting to feel like reruns, this one’s about to become your new favorite. This sheet-pan chicken recipe turns a handful of everyday ingredients into impossibly juicy, fall-off-the-bone chicken with crispy, golden skin — and it costs a fraction of what you’d pay for a rotisserie bird at the store.
The best part? There’s no marinating overnight, no fussy technique, no fifteen-ingredient sauce. Just a quick spice rub massaged into the skin and about 45 minutes in the oven while you do literally anything else. Dinner practically makes itself.
What Exactly Are Chicken Leg Quarters?
If you’ve never cooked with leg quarters before, here’s the quick rundown: a leg quarter is the drumstick and thigh still connected as one piece, usually with a portion of the back attached. Think of it as the “whole leg” of the chicken, rather than the two pieces sold separately.
Why cooks love them:
Flavor. Dark meat has more fat running through it than chicken breast, which means it stays moist even if you’re not watching the clock like a hawk. It’s genuinely one of the most forgiving cuts you can roast — hard to overcook, easy to get right.
Value. Leg quarters are consistently one of the cheapest cuts at the grocery store, which makes them an easy win if you’re feeding a family on a budget without sacrificing flavor.
Want an easy dipping sauce to serve alongside your crispy chicken? Try our Copycat Chick-fil-A Sauce for a creamy, sweet, and tangy pairing that takes this easy dinner to the next level.
The Secret Behind the Savory Dry Rub Seasoning
You don’t need anything exotic here. This recipe leans entirely on pantry staples — the kind of herbs and spices already sitting in your cabinet.
Here’s what’s doing the heavy lifting:
- Italian herb blend — oregano, thyme, rosemary, and basil bring an earthy, aromatic backbone to the rub.
- Ground mustard — this is the sleeper ingredient. It adds a quiet, warming spiciness that makes the other flavors pop instead of sitting flat.
- Paprika — beyond a mild, sweet flavor, paprika is what gives the skin that deep, appetizing color once it hits the oven.
- The essentials — kosher salt, black pepper, onion powder, garlic powder, and olive oil round everything out and help the rub adhere to the skin.
Together, this blend does more work than you’d expect from ingredients you probably already own.
Culinary Techniques for Crispy Skin and Juicy Meat (The Prep)
Getting crispy skin and juicy meat at the same time isn’t luck — it’s technique. Here’s how to set yourself up for success.
Step 1: Prep the pan. Line a baking sheet with foil. This isn’t just about crispy skin — it makes cleanup nearly effortless, since chicken fat renders out as it cooks.
Step 2: Trim. Take a minute to remove excess skin and fat, especially the loose bits around the joint where the thigh meets the leg. It’s a small step that prevents greasy, floppy results.
Step 3: Dry it off. This is the real secret to crispy skin. Pat the chicken thoroughly dry with paper towels before seasoning. Moisture is the enemy of crispiness — it steams the skin instead of letting it crisp.
Step 4: Oil and season. Brush both sides lightly with olive oil, then press the dry rub firmly into the skin so it really sticks. Finish with one more light coat of oil to help lock in moisture and encourage even browning.
The Science of Baking Dark Meat: Why 195°F Beats 165°F
Preheat your oven to 425°F and bake the seasoned quarters for 35 to 45 minutes.
Here’s where a lot of home cooks go wrong: they pull dark meat at 165°F, the standard “chicken is safe” temperature — and end up with meat that’s technically cooked but still a little chewy or tough. That number is really meant for white meat.
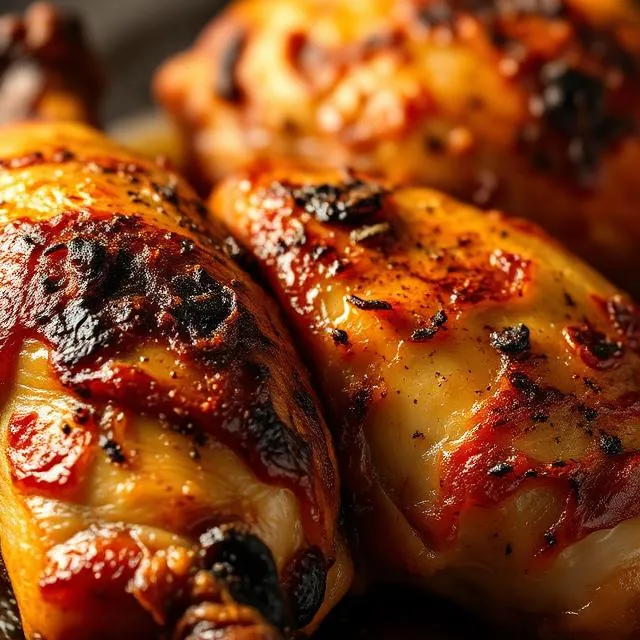
Dark meat is a different animal. Leg quarters are loaded with connective tissue and collagen, and that collagen needs heat and time to break down into gelatin. That transformation doesn’t really happen until the internal temperature climbs closer to 195°F. Below that, the meat can taste dry or stringy even though it’s fully cooked. Above it, everything turns tender and succulent.
An instant-read thermometer is non-negotiable here. Leg quarters vary in size, and ovens run hot or cool depending on the day, so going by time alone is a gamble. Insert the thermometer into the thickest part of the thigh, avoiding the bone.
One pro tip: pull the chicken at around 185°F, not 195°F. Thanks to carryover cooking, the internal temperature will keep climbing another 5 to 10 degrees as it rests, landing you right in that perfect 190–195°F window without drying anything out.
For food-safety guidance, it’s always best to check chicken with an instant-read thermometer rather than relying only on cooking time. The USDA recommends cooking poultry to a safe internal temperature, so use a reliable thermometer and check the thickest part of the meat. For more detailed guidance, see the USDA’s safe minimum internal temperature recommendations.
Serving and Resting: Keeping the Juices Locked In
Once the chicken comes out of the oven, resist the urge to cut into it immediately. Let it rest for 5 to 10 minutes.
This isn’t just a suggestion for the sake of tradition — there’s real science behind it. While the chicken cooks, the muscle fibers tighten up and push juices toward the center. Resting gives those proteins a chance to relax again, which lets the juices redistribute evenly through the meat instead of spilling out onto your cutting board the second you slice in.
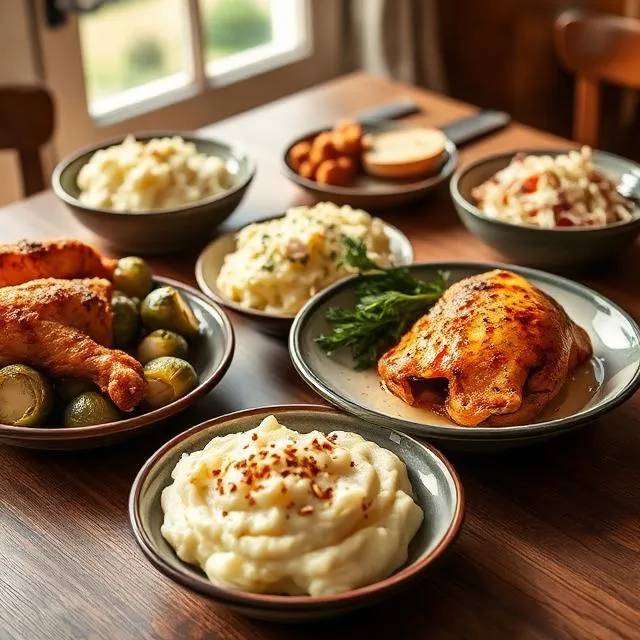
Pair it with something simple and comforting:
- Instant Pot mashed potatoes
- Air fryer Brussels sprouts with parmesan and ranch seasoning
- Creamy country coleslaw
FAQ & Meal Prep Guide for Oven Baked Chicken Quarters
Can I double this recipe? Absolutely — just double every ingredient and use a pan large enough that the pieces aren’t crowded. Cook time stays close to 45 minutes, but always confirm doneness with a thermometer rather than the clock.
How should I handle leftovers? The skin is crispiest fresh from the oven, but leftovers are still delicious — shredded over a salad, they’re arguably even better the next day.
What’s the best way to reheat it? Loosely cover the chicken with foil and reheat in a 325°F oven for 15 to 20 minutes. Remove the foil for the last 5 minutes to bring the skin back to life.
Can I swap the seasoning? Of course. This rub is a great starting point, but feel free to use your favorite chicken seasoning blend instead.
Printable Recipe Card: Best Damn Oven Baked Chicken Quarters
Prep Time: 5 minutes | Cook Time: 45 minutes | Total Time: 50 minutes | Yields: 4 servings
Ingredients
- 4 chicken leg quarters
- 2 tbsp olive oil, divided
- 1 tbsp paprika
- 1 tsp ground mustard
- 1 tsp dried oregano
- 1 tsp dried thyme
- 1 tsp dried rosemary
- 1 tsp dried basil
- 1 tsp garlic powder
- 1 tsp onion powder
- 1 ½ tsp kosher salt
- ½ tsp black pepper
Instructions
- Preheat oven to 425°F and line a baking sheet with foil.
- Trim excess skin and fat from the chicken quarters.
- Pat the chicken completely dry with paper towels.
- Brush both sides with half the olive oil.
- Combine all dry seasonings in a small bowl and press evenly onto the chicken.
- Drizzle with the remaining olive oil.
- Arrange on the prepared sheet pan and bake 35–45 minutes, until internal temperature reaches 185°F.
- Rest 5–10 minutes before serving, allowing carryover heat to bring it to 190–195°F.
Chef’s Notes: Always trust the thermometer over the clock — oven variance and quarter size matter more than you’d think.


One Comment