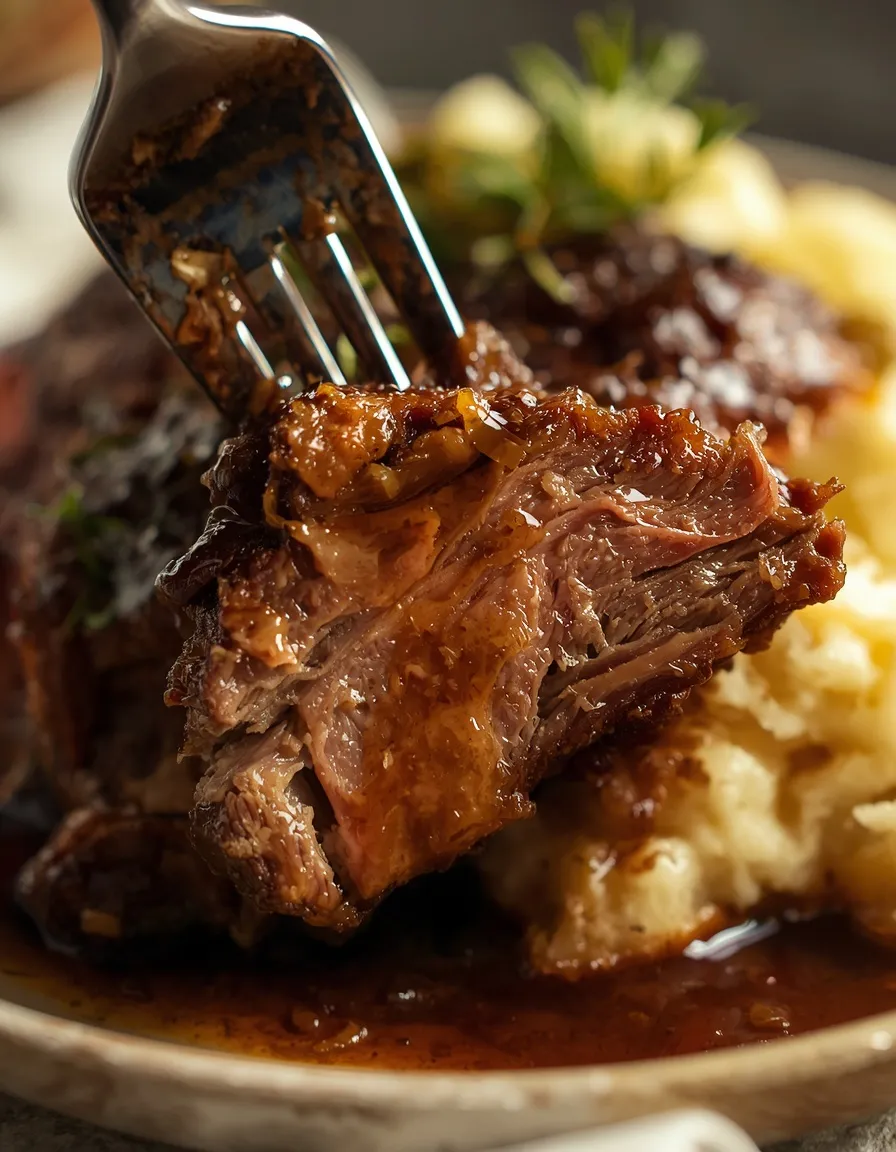
Braised Short Ribs: 7 Easy Steps to Fall-Off-the-Bone Beef
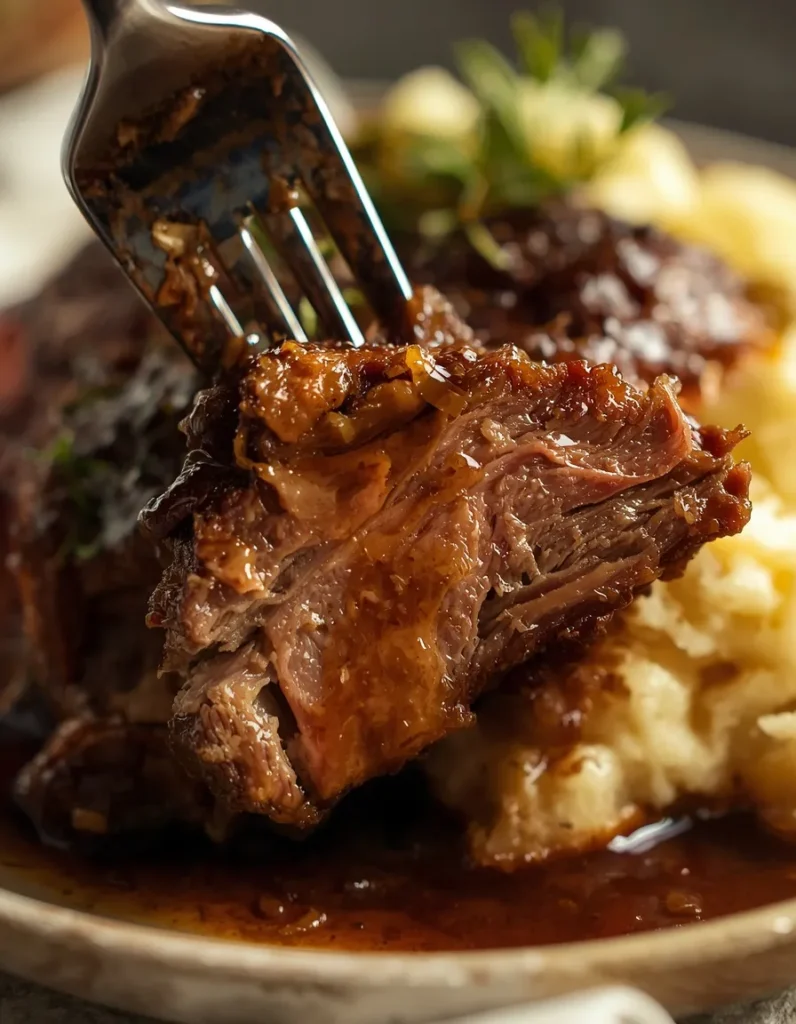
Fall-Off-the-Bone Braised Short Ribs
Table of Contents
The Promise of Restaurant-Quality Comfort Food at Home
There’s a particular kind of joy that comes from swapping a takeout container for a dish you built with your own hands. The smell that fills the kitchen while something braises low and slow for hours, the sound of a fork sliding through meat with almost no resistance, the quiet satisfaction of knowing exactly what went into your dinner — none of that comes in a paper bag. Braised short ribs deliver that feeling better than almost any other dish.
Here’s the good news: this isn’t a recipe reserved for professional kitchens or people with years of culinary school behind them. Tender, deeply flavorful short ribs are almost entirely a matter of technique and patience, not complicated skill. Give your oven the time it needs, and it does the hard work for you.
If you’re looking for another comforting, protein-packed dinner to add to your meal plan, try our Healthy Crab Cakes. They’re a lighter seafood option that pairs well with fresh salads, roasted vegetables, or other simple sides.
Why a Heavy Cast Iron Dutch Oven Is Your Best Cooking Ally
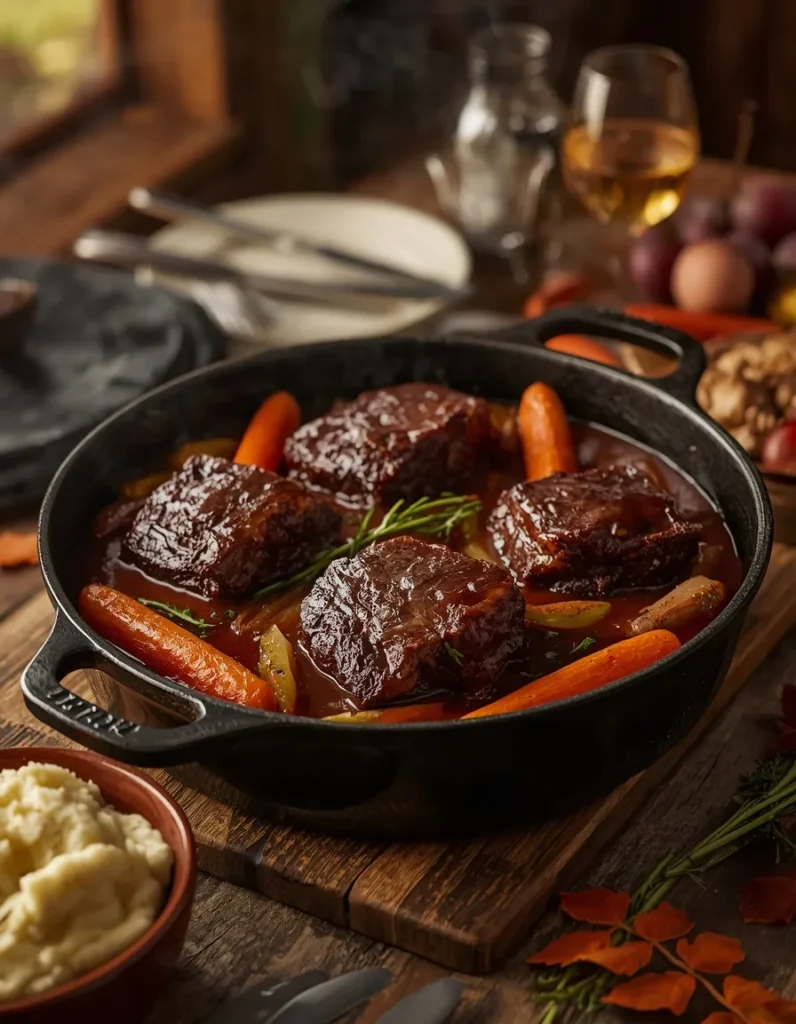
If there’s one piece of equipment worth having for this dish, it’s a heavy cast iron Dutch oven. Its thick walls hold and distribute heat with a steadiness that thinner pots simply can’t match, and that steadiness is exactly what’s needed to coax tough, well-worked cuts of beef into something silky and tender.
Thin pots tend to create hot spots that scorch the bottom of your braise before the meat has had a chance to break down. A heavy Dutch oven, by contrast, builds a slow, humid, even cooking environment — essentially a self-contained slow cooker that goes straight from stovetop to oven. That consistency is the quiet secret behind restaurant-style braises.
For another approach to preparing this classic comfort food, you can also explore this Dutch Oven Braised Short Ribs recipe for additional ideas on the braising technique.
The Golden Rule of Searing: Unlocking Deep, Savory Flavor
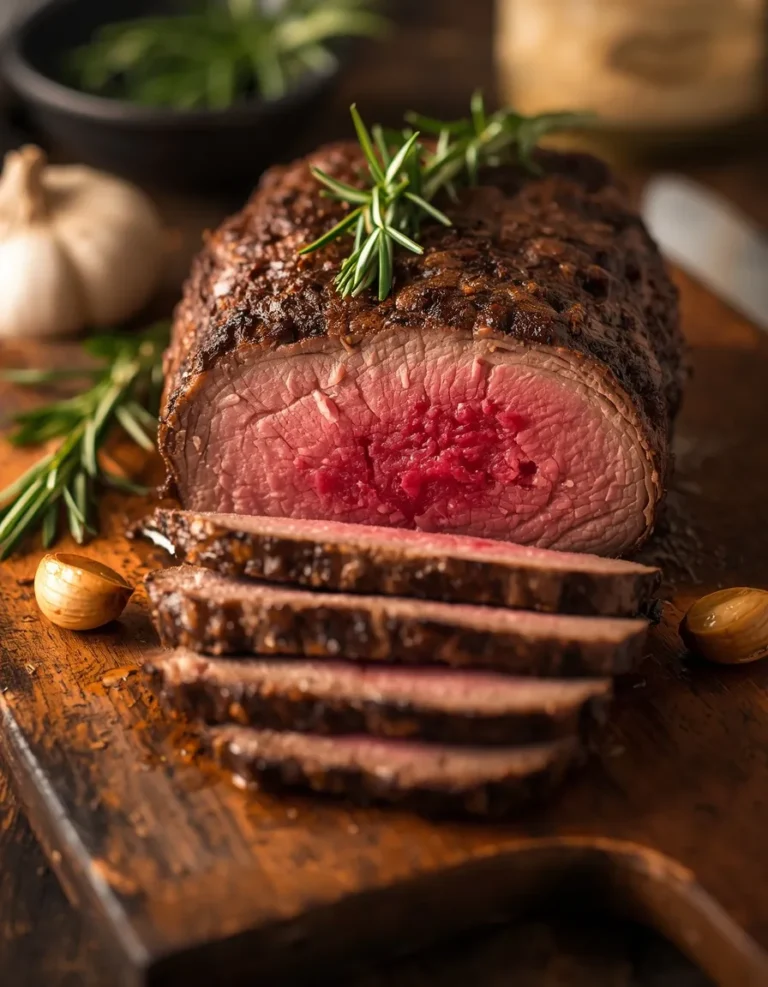
Before any braising liquid touches the pot, there’s one step you should never skip: searing. When beef hits a hot pan, the Maillard reaction kicks in — a chemical process that turns proteins and sugars on the surface of the meat into a deep brown, intensely savory crust. That crust is where a huge percentage of your final flavor comes from, so don’t rush it.
The trick to a proper sear is almost embarrassingly simple: pat the short ribs completely dry with paper towels first. Any surface moisture will cause the meat to steam rather than brown, and steamed meat just sits there gray and flavorless instead of caramelizing. A few extra minutes with paper towels makes all the difference.
Once your ribs are seared and set aside, don’t wash the pot. Those browned bits stuck to the bottom are pure flavor, and they’ll become the foundation of your gravy later on.
The Ultimate Ingredient Checklist
Meat and fresh aromatics:
- 4 lbs bone-in beef short ribs
- Olive oil, for searing
- 1 large yellow onion, chopped
- Carrots and celery stalks, chopped
- Garlic, minced
Braising liquids and seasonings:
- Dry red wine (Cabernet Sauvignon or Merlot) for depth and body
- High-quality or low-sodium beef broth
- Diced tomatoes, undrained
- Fresh thyme, rosemary, bay leaves, salt, and black pepper
Step-by-Step Instructions: Layering the Flavors FOR Braised Short Ribs
Step 1: Sear and sauté the base.
Season the dried ribs generously with salt and pepper. Sear them in shimmering olive oil until deeply browned on all sides, then set them aside. Lower the heat and cook the onion, carrots, and celery for 5 to 7 minutes, until softened. Add the minced garlic and cook for just 1 minute — burnt garlic turns bitter fast, so keep an eye on it.
Step 2: Deglaze and braise.
Pour in the red wine, scraping up every caramelized bit from the bottom of the pot with a wooden spoon. Let the wine reduce by about half. Nestle the ribs back into the pot, then add broth and tomatoes until the liquid comes about three-quarters of the way up the meat. Toss in the fresh herbs and bring everything to a gentle simmer. Cover tightly and bake at 325°F (160°C) for 3 to 4 hours, until the beef is fork-tender.
Step 3: Turn the liquid into rich gravy.
Rest the ribs on a platter and skim off the excess fat from the surface of the braising liquid. Remove the herbs, then boil the remaining liquid on the stovetop until it reduces to your preferred gravy consistency.
Alternative Cooking Method: The Slow Cooker Adaptation
No Dutch oven, or just want a hands-off version? Sear the meat, sauté the vegetables, and deglaze the pan exactly as above, then transfer everything to a slow cooker. Cook on low for 6 to 8 hours. You still get the deep flavor from searing, just with less oven babysitting.
Serving Suggestions: Elevating the Dinner Experience
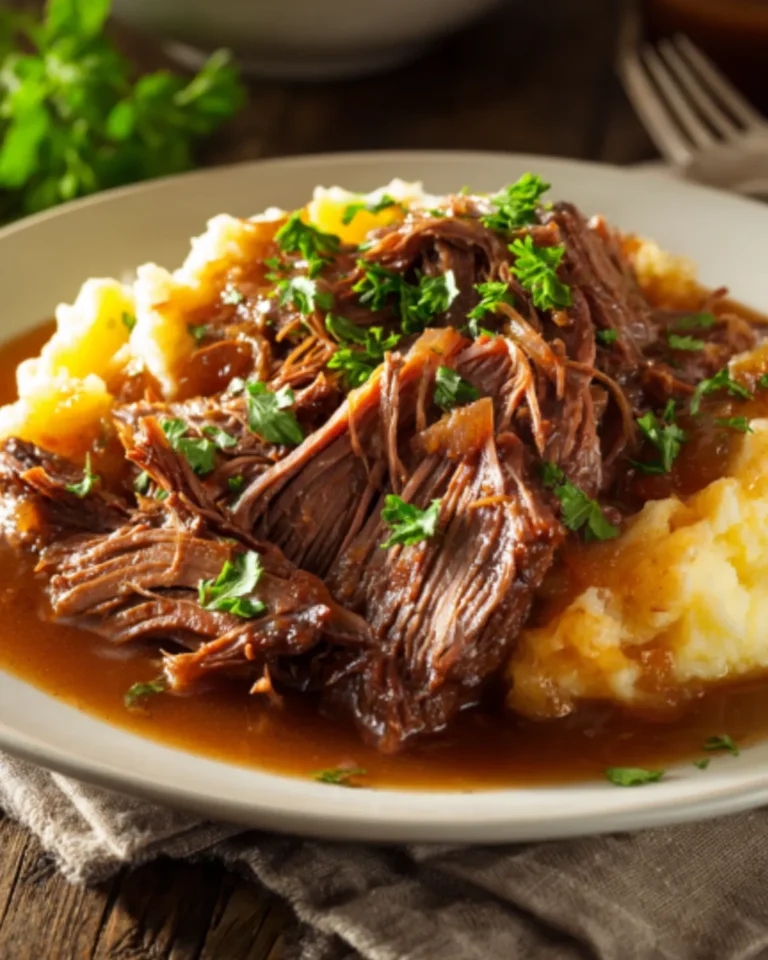
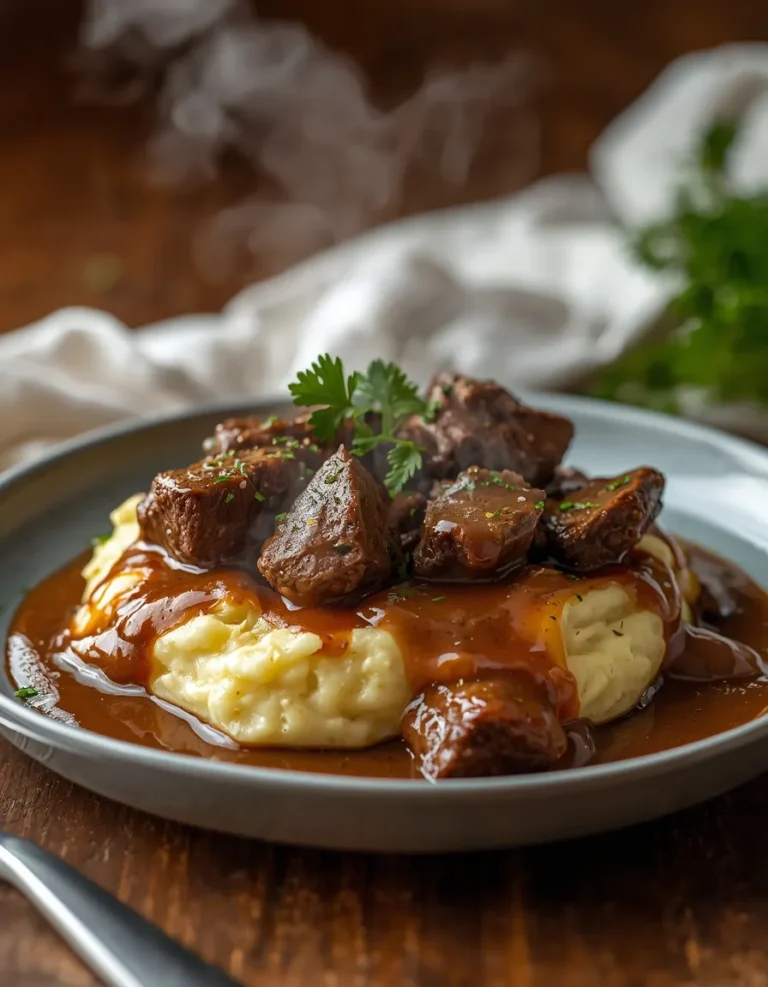
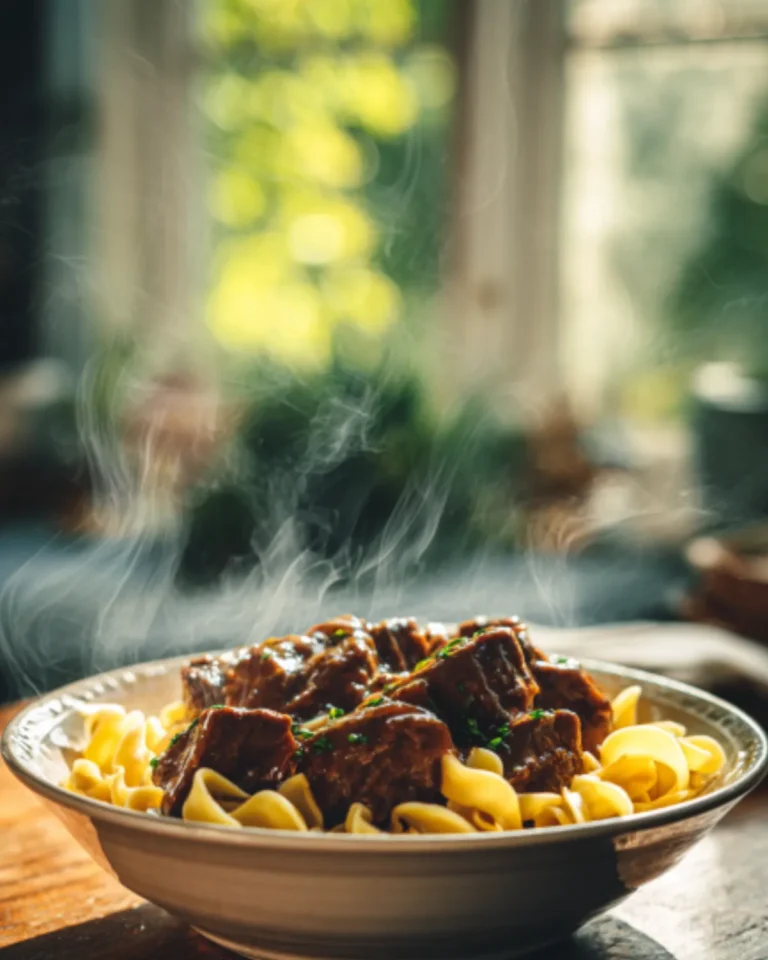
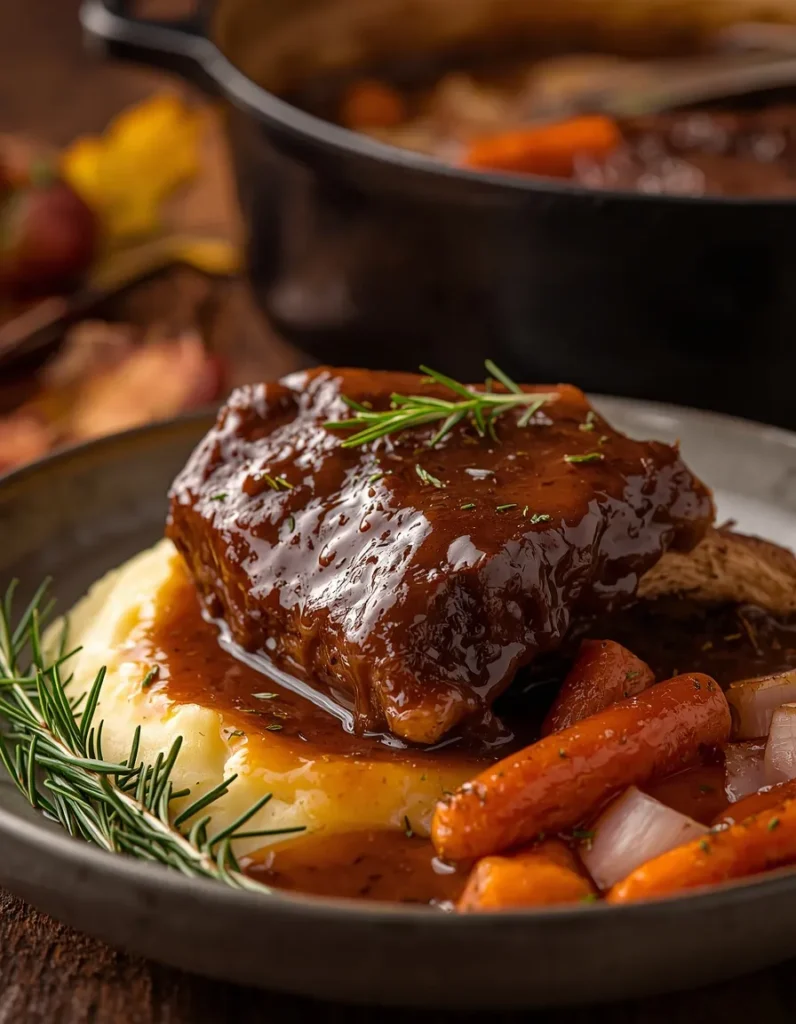
Short ribs practically demand a soft, starch-based bed to soak up all that gravy. Creamy mashed potatoes are the classic choice, but rich polenta or thick egg noodles work beautifully too. Whatever you choose, make sure there’s enough of it to catch every last spoonful of sauce.
Frequently Asked Questions
Which wine is best? Stick with a dry, full-bodied red like Cabernet Sauvignon, Merlot, or Chianti. A sweet wine will throw off the balance against the richness of the beef fat.
How do I make sure the meat is fall-off-the-bone tender? Patience is the real ingredient here. Test with a fork at the 3-hour mark; if it resists at all, cover the pot and bake for another 30 minutes.
Can I use boneless short ribs? Yes — just check them 30 to 45 minutes earlier than the recipe states, since they lack the bone’s natural protection and can dry out faster.
Meal Prep, Storage, and Reheating Secrets
This is one of those rare dishes that’s genuinely better the next day. Making it ahead gives the flavors time to deepen, and once chilled, the fat solidifies on top and lifts away in one easy layer.
Store the ribs and sauce together in the fridge for up to 4 days, or freeze for up to 3 months. When you’re ready to eat, reheat gently — covered, on the stovetop over low heat or in a low oven — so the meat warms through without toughening up.