Burger Cooking Times Chart: 5 Proven Ways to Grill Perfect Burgers Every Time
Table of Contents
The Secret to Stress-Free Grilling
Every backyard cook knows the problem, even if they’ve never put words to it. Your kid wants a Burger Cooking Times that’s basically hockey-puck well-done, no pink, no questions asked. Your partner wants medium, with that faint blush of color still hanging on in the middle. Someone else at the table swears they’ll only eat it medium-rare, “the way a real burger’s supposed to be.” So you stand at the grill, spatula in hand, pressing patties and squinting at juices, trying to guess who’s getting what — and half the time, somebody ends up with a dry, gray puck or a patty that’s still a little too rare for comfort.
Learning proper burger cooking times is only part of the equation. If you want to master every aspect of burger making—from choosing the right meat blend to shaping patties and grilling techniques—check out our detailed guide on the Perfect Burger
That guessing game is where most grilling stress actually comes from. It’s not the grill, it’s not the meat, it’s the not knowing. The fix isn’t a secret ingredient or a fancy flip technique — it’s timing and temperature. Once you know how long a patty needs on the heat to land at a specific doneness, and how to confirm it without cutting the thing open, the whole process stops being a gamble. Here’s exactly how to get there, burger after burger.
Quick Reference: The Burger Cooking Times Timing Cheat Sheet
These times assume a standard patty — about 1 inch thick, roughly 4 inches across — cooked over direct heat somewhere between 450°F and 500°F. Adjust slightly for thicker or thinner patties, but this is your starting point:
- Rare: 2 minutes per side (4 minutes total)
- Medium-Rare: 2 minutes 30 seconds per side (5 minutes total)
- Medium: 3 to 3½ minutes per side (6 to 7 minutes total)
- Well-Done: 4 to 4½ minutes per side (8 to 9 minutes total)
Print it, screenshot it, tape it to the inside of your grill lid — whatever gets it in front of you next time you’re standing over the flames deciding whether to flip.
Decoding Doneness: Visual & Temperature Guide
Timing gets you close, but temperature is the real proof. Here’s what each doneness level should look like on the inside, along with the internal temp that gets you there:
- Rare (125°F): Pink from edge to edge, soft and cool-toned throughout.
- Medium-Rare (135°F): Mostly pink in the center, just starting to brown near the crust.
- Medium (145°F): A slim pink stripe in the middle, brown everywhere else.
- Well-Done (160°F): Fully brown all the way through — no pink left anywhere.
If you’re cooking for a crowd with mixed preferences, this is the chart to keep glancing at. It turns “I think this one’s done” into “I know this one’s done.”
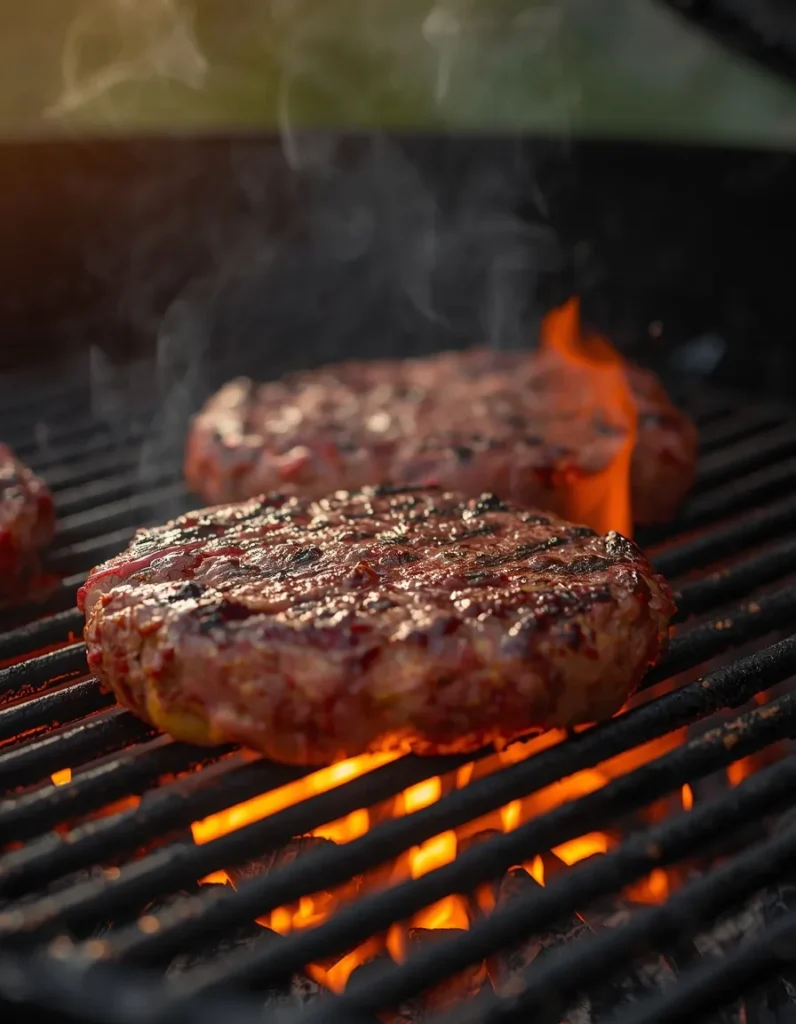
Precision Techniques: Is Your Burger Cooking Times Actually Done?
Guessing by color alone can trip you up — lighting, grill marks, and even the type of meat can make a patty look more or less done than it actually is. So here are two ways to check that don’t rely on your eyes alone.
The pro move: grab an instant-read thermometer and insert it through the side of the patty, aiming for the center. Going in from the top is the more common instinct, but it’s also the less accurate one — you tend to hit warmer meat near the surface instead of the coldest point in the middle, which can read several degrees higher than reality. Coming in from the side puts the probe tip right where the temperature actually matters.
The manual check: no thermometer handy? Use the finger test. Press the center of the patty gently. A rare burger gives with almost no resistance, soft like the fleshy part of your palm at rest. Medium pushes back a bit, with some spring. Well-done feels firm, almost springy all over, closer to pressing your forehand muscle when your fist is clenched. It’s not as exact as a thermometer, but with a little practice it becomes a reliable gut check.
The Final Step: Why Resting Is Mandatory
Here’s the step people skip most often, and it costs them: once the burger comes off the grill, let it sit on a plate for a full 60 seconds before anyone touches it. It feels like wasted time when everyone’s hungry and the buns are already toasted, but that one minute is doing real work.
While the patty cooks, the juices get pushed toward the center by the heat. Cut into it immediately, and those juices run straight out onto the plate — you’re left with a drier bite than the cook actually earned. Give it that brief rest, and the juices redistribute back through the meat, so every bite stays moist instead of the first one being juicy and the last one being sawdust.
For additional expert guidance on burger grilling times and doneness levels, Simply Recipes offers a helpful reference on burger temperatures, cooking times, and grilling techniques. Comparing multiple trusted sources can help you fine-tune your grilling skills and consistently achieve your preferred level of doneness.
Food Safety Corner: The USDA Standard
Doneness preference is one thing; food safety is another, and they don’t always agree. The USDA recommends cooking ground beef to an internal temperature of 160°F — which lines up with well-done on the chart above.
This matters because, unlike a whole cut of steak where bacteria mostly live on the surface, ground beef gets that surface bacteria mixed all the way through during grinding. Cooking to 160°F is what reliably kills it off. If you or someone you’re feeding falls into a higher-risk group — young kids, older adults, pregnant women, anyone immunocompromised — it’s worth defaulting to well-done rather than chasing a pink center, no matter what the timing chart says looks appealing.
Beyond the Basics: Recipes & Pro Tips
Once these timing and temperature basics are second nature, they travel with you into just about any burger you want to build. Try them out on a bison burger for a leaner, richer bite, a blue cheese burger for something sharp and indulgent, or a grilled mushroom Swiss burger if you’re after that deep, savory combination.
And if you want to go further, there’s more ground to cover: how to shape a patty so it doesn’t shrink into a meatball, the right way to season beef so the flavor doesn’t just sit on the surface, and how to pick a ground beef blend with enough fat to stay juicy without falling apart on the grate. Master those, and the timing chart stops being a cheat sheet — it just becomes how you grill.